Deciding what to present for this new contest which you can find HERE it came an idea to combine two parts in one post. First of all the story behind the series of the photo itself, while to make maybe more interesting for some amateur and beginners photographers to add also some tutorial for basic retouch of one of the images in the series.
Not to overload the final post, therefore the number of story photos was reduced slightly. Guess I would better make some additional stories in the future covering all the aspects and now will concentrate on main only
So here we go...
Coming back to October, 2017 it is great memories about trip to Malta for one week. October still provides pretty decent and warm weather (actually speaking couple of days were even very hot still), while the tourist season is going to an end and prices become just more acceptable. Malta is generally very small, over 30km length only with developed city buses communication. So it is not really necessary to book a much expensive hotel in Valletta, while you can find much more budget one and all Malta locations will be still easy accessible in almost no time...
That was the case when we have booked such a budget hotel located at western part of the island at St.Paul's Bay. And it was very good just at the coast line, pretty quiet and with a perfect sea view and bus stop only couple hundred meters from... But actually there were quite a lot of interesting locations around it, so even bu was not necessary and just reachable by foot
One sunny day we just took an opportunity to walk along to coast line of St.Paul's Bay. Have to admit, that normally I'm taking two cameras to any trip. First one is full-frame Canon 6D. Very lightweight and with nice GPS feature saving coordinates into files EXIFs (it is very nice after certain period of time to look onto the map in Lightroom). This full frame is normally used for portrait and fashion photoshoots we normally making while travelling, as well as for more decent landscape or cityscape shots in combination with light travel tripod and LEE filters.
While second camera is a crop one Canon 60D (now have changed it to Canon 7D Mark II) with a very wide focal range zoom lens. At this story Sigma 18-250mm were used. It is extremely convenient for such travel photo walks, allowing to take very wide range pf photos starting from wider city or landscape views and going much into details compressing perspective a lot on a long focal length, and even to some decent macro shots time to time
Not to forget that 18-250 mm needs to be multiplied by crop factor 1.6, so finally we are getting a whopping 400mm on a long end and this is for a very light-weighted lens
The combination is very lightweight too, which is still important while walking for hours. Well, it is obviously some loss of quality using crop camera and zoom lens, but imho advantages of being able to use it in very various situations and for quite different purposes surely overweight the quality issue
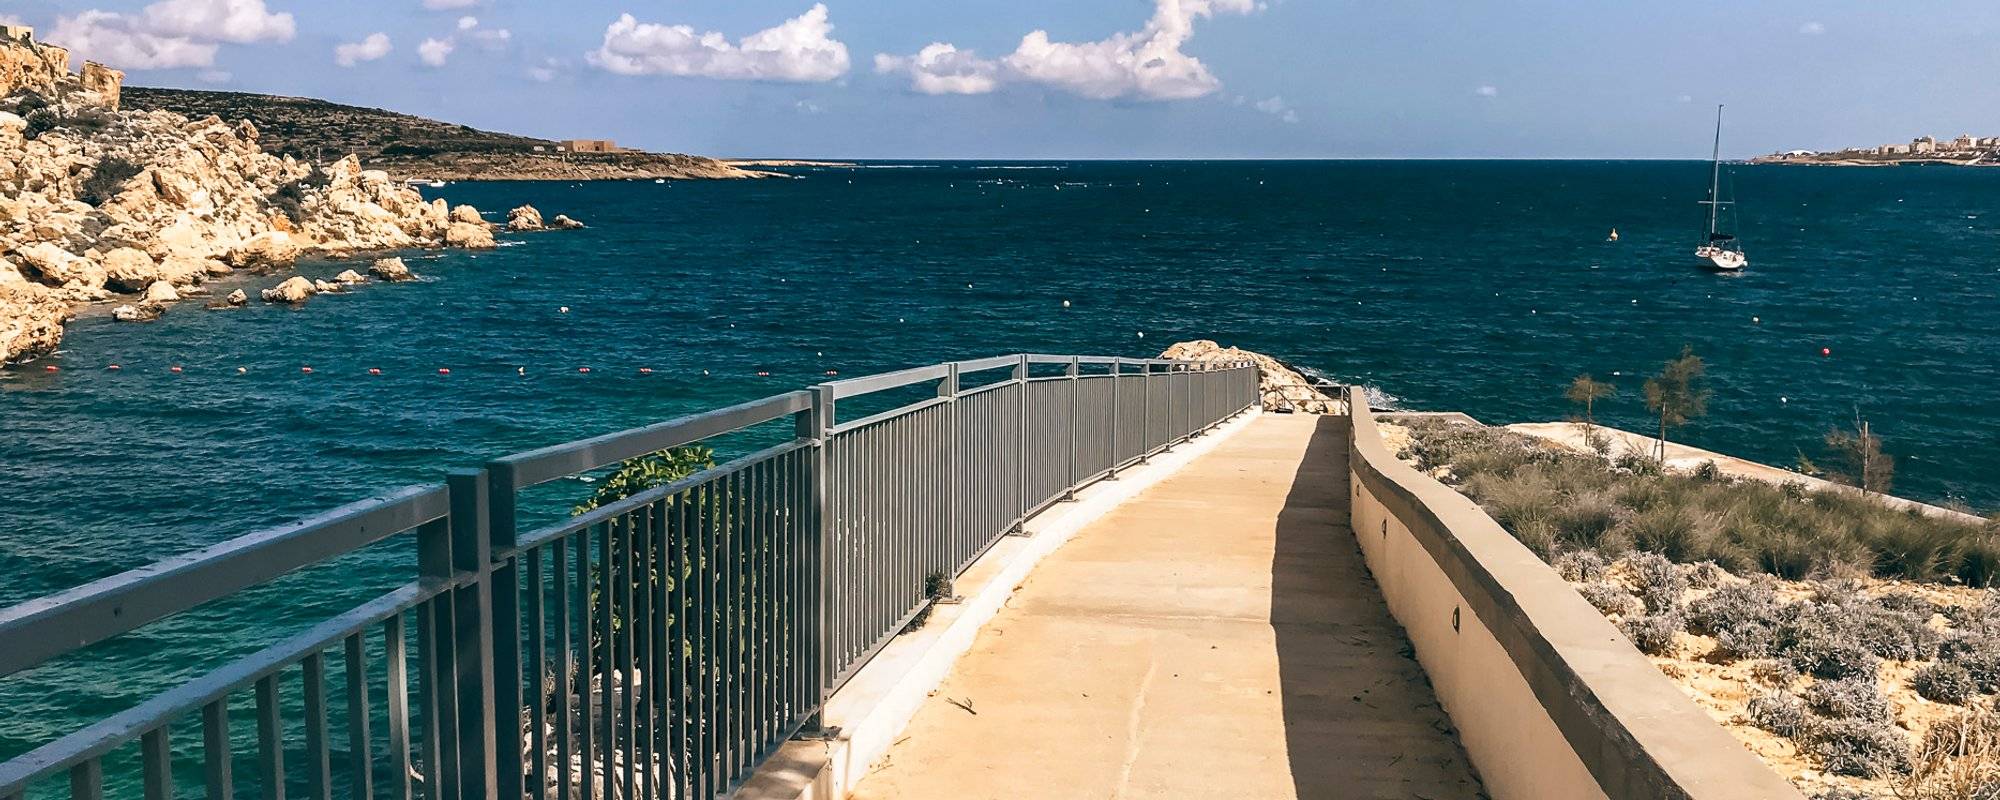
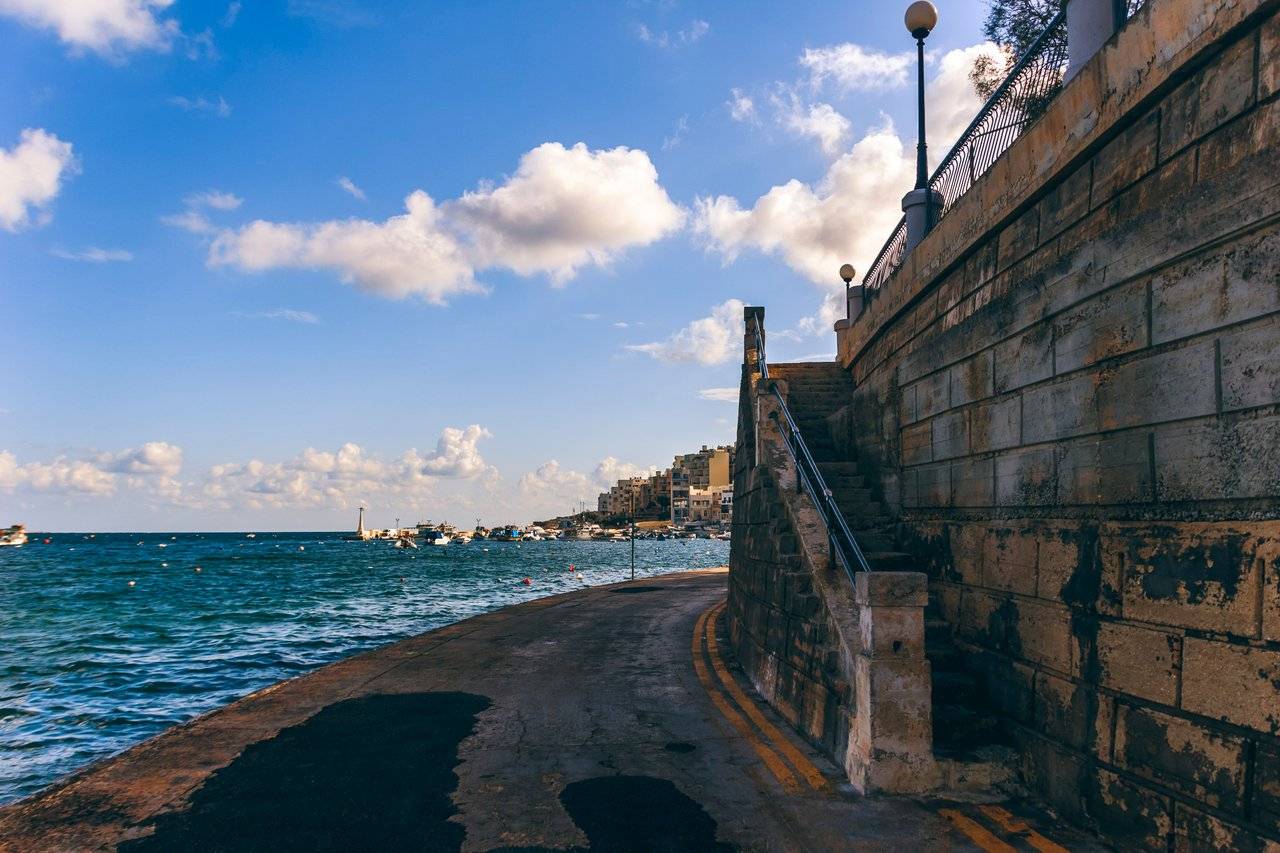
So lets start from some general wide angle views of St.Paul's Bay just coming out of the hotel. This is how the lens can be used on a wide angle, which is 18x1.6=28.8mm. Not too much wide, but quite decent anyway
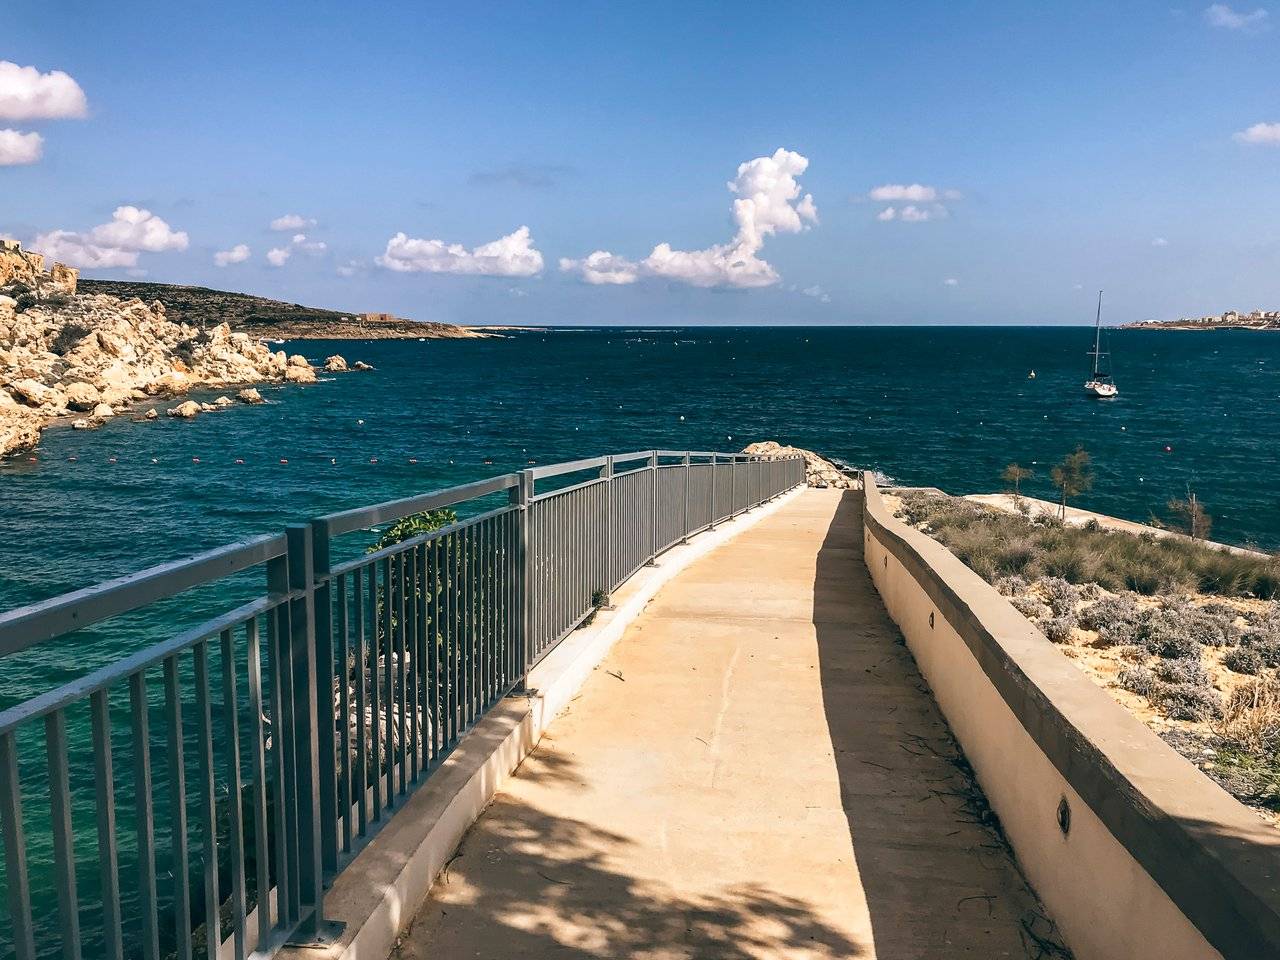
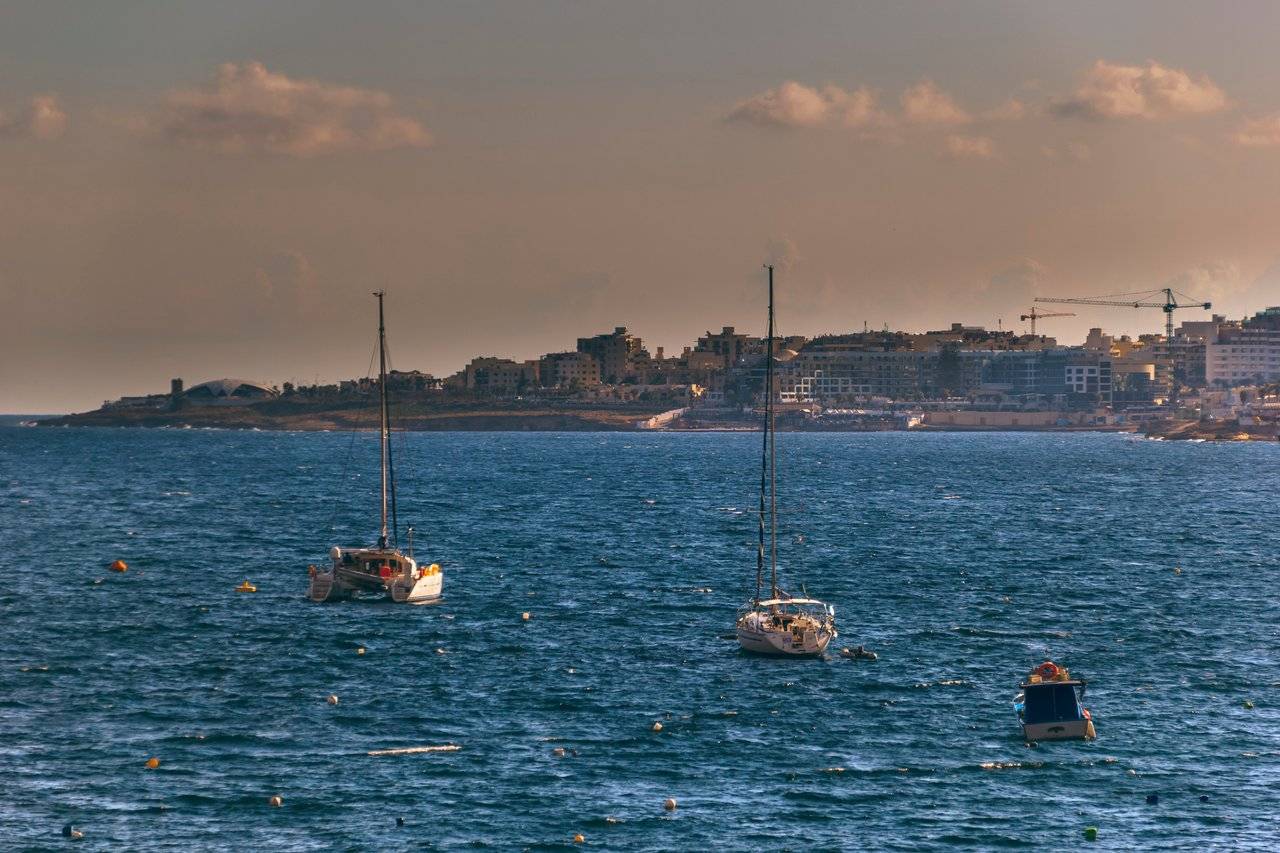
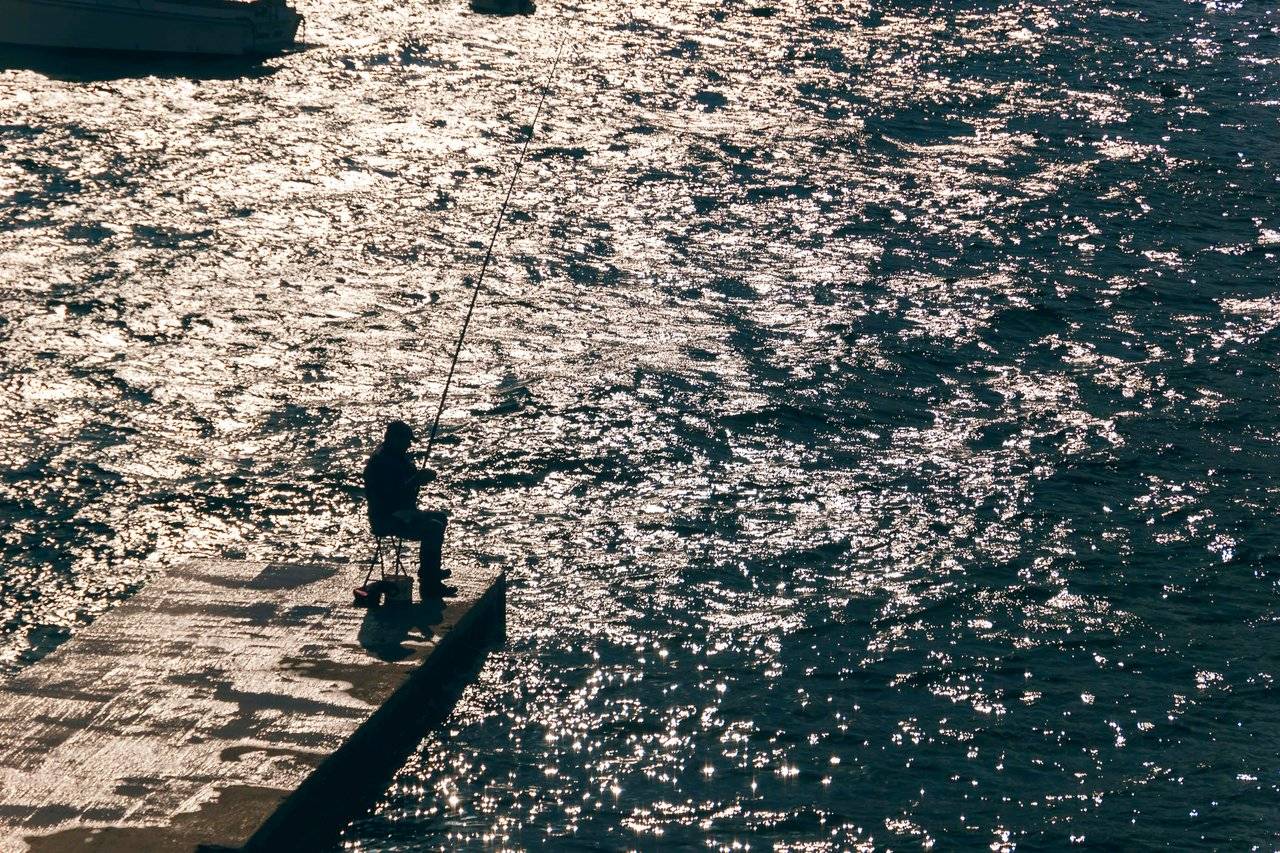
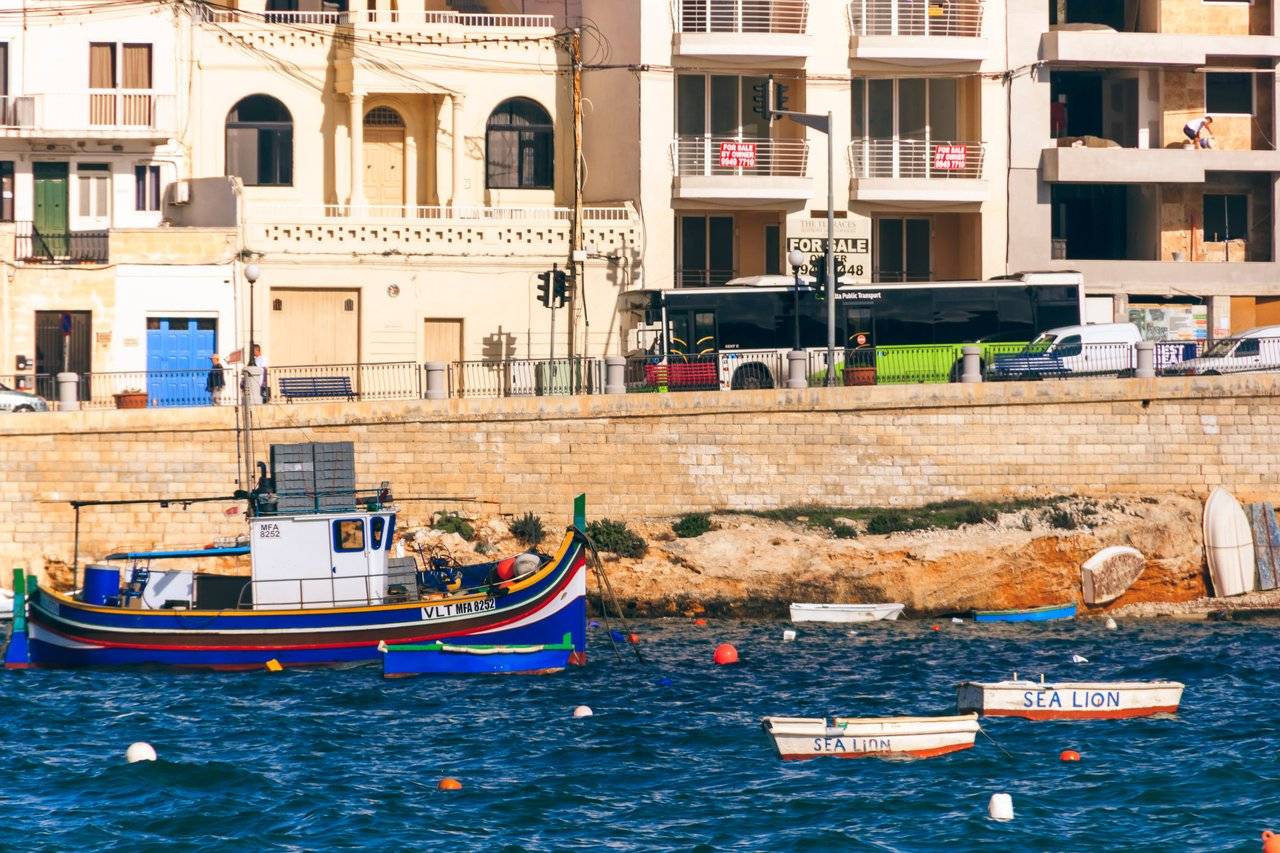
Then using more zoom we are getting much closer to some interesting objects, while out foot trip by the bay's embankment starts
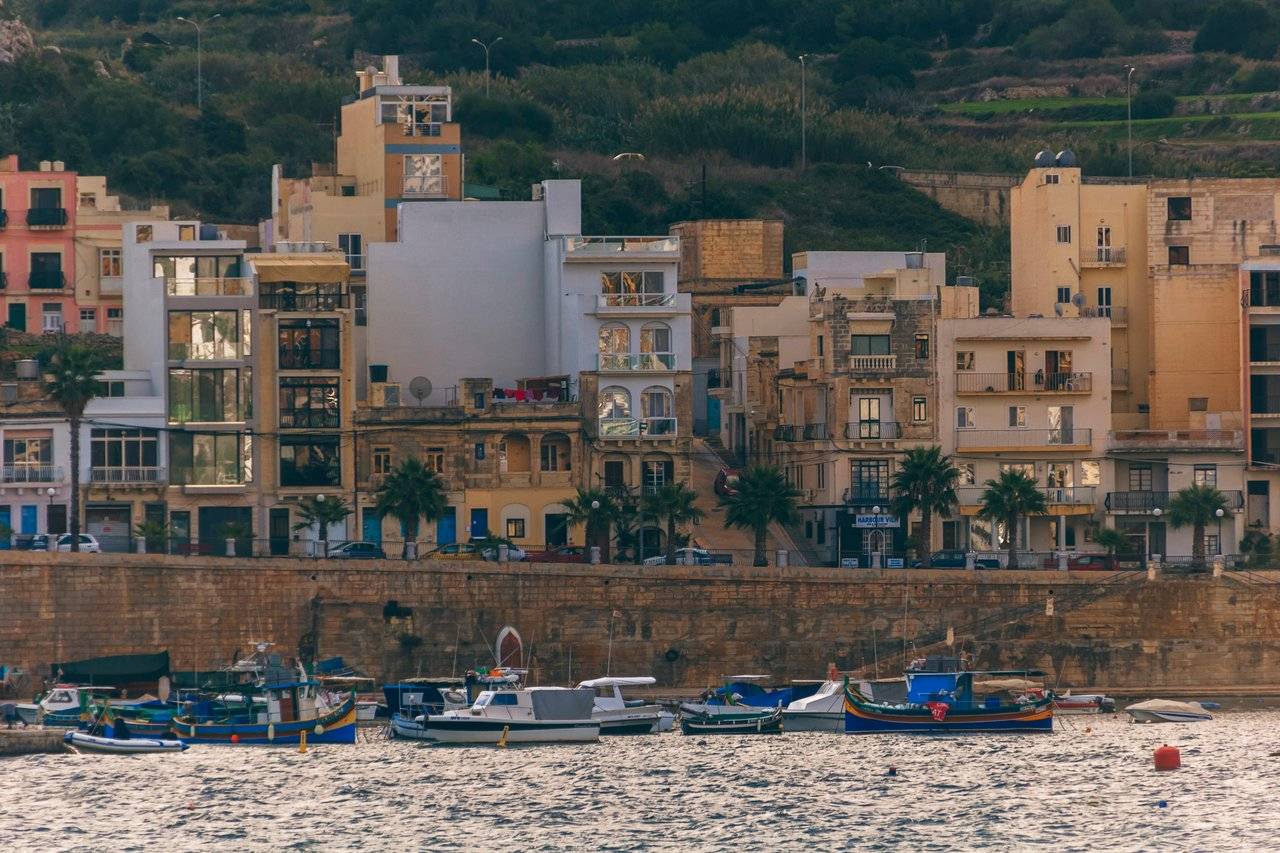
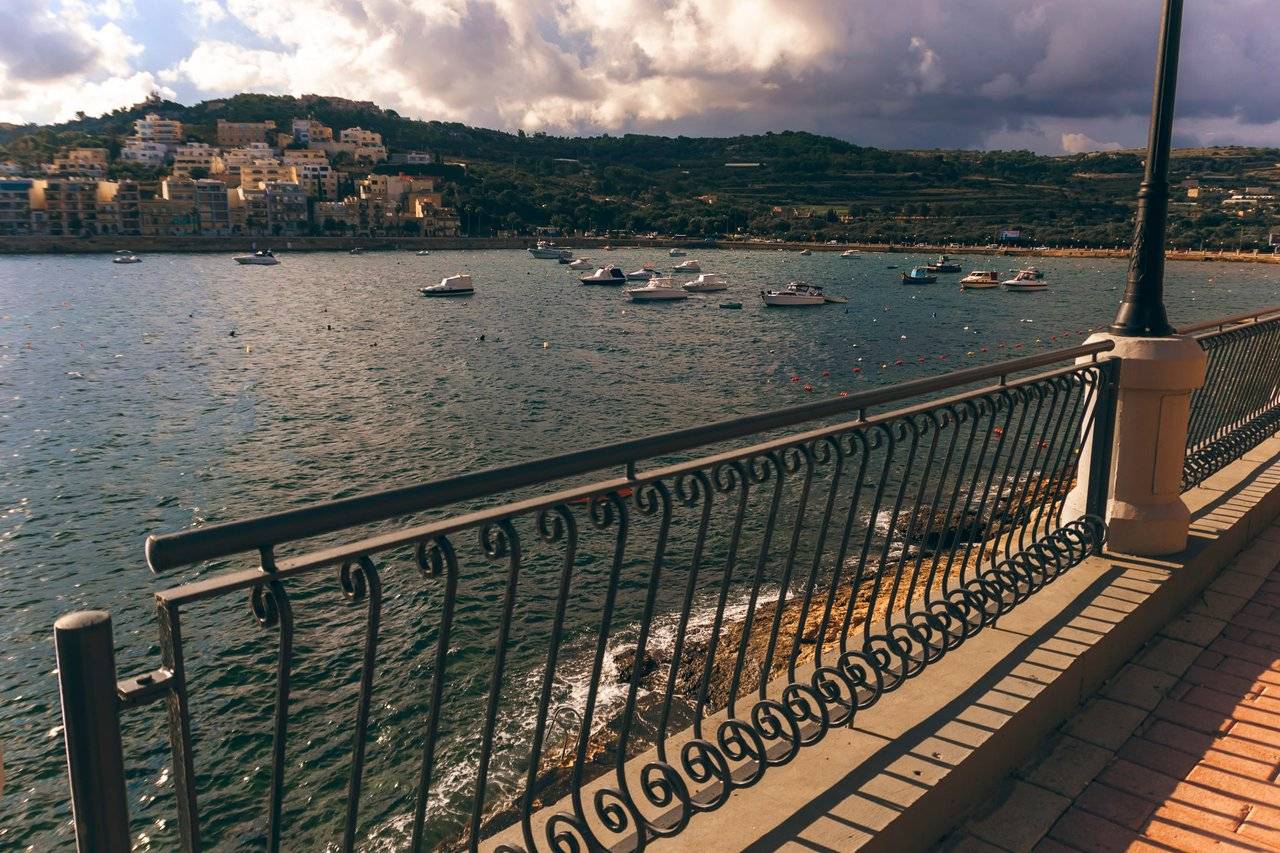
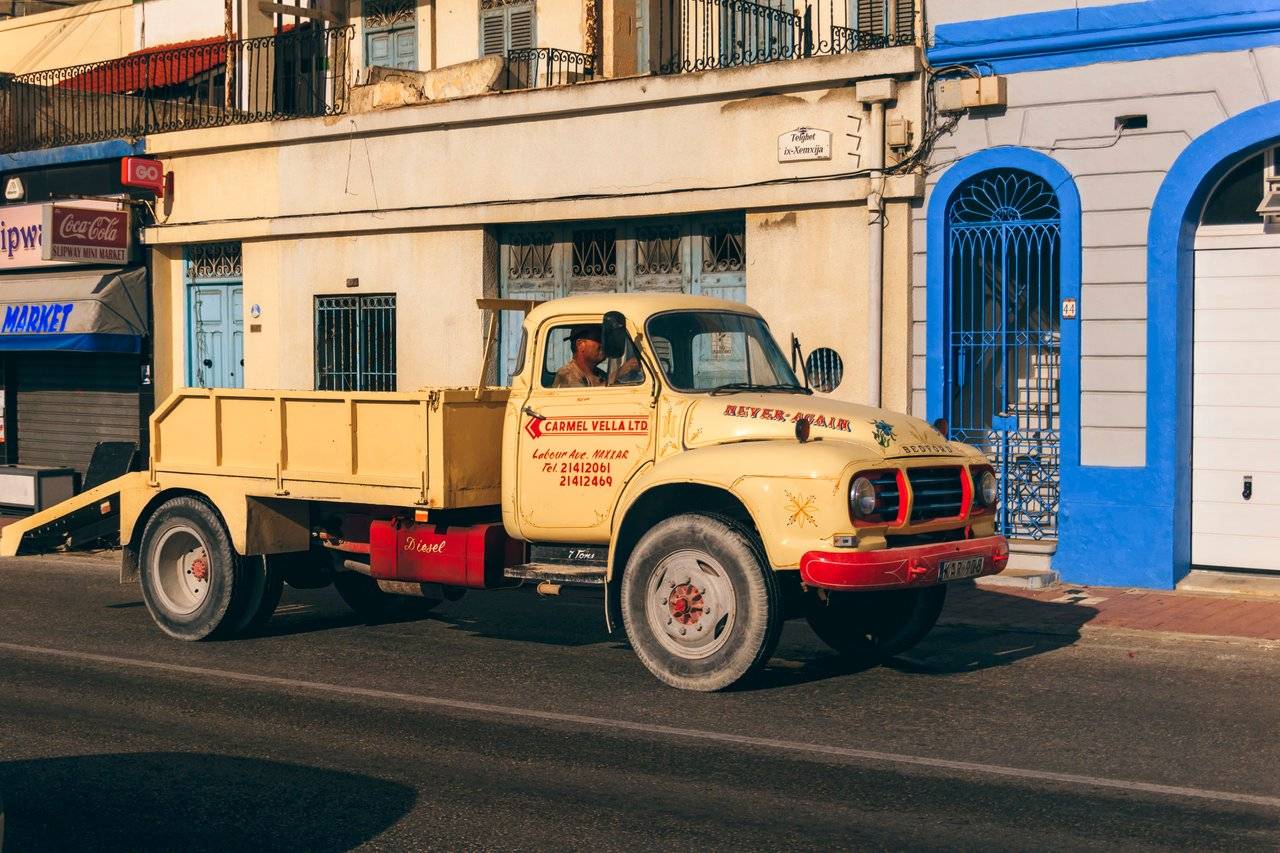
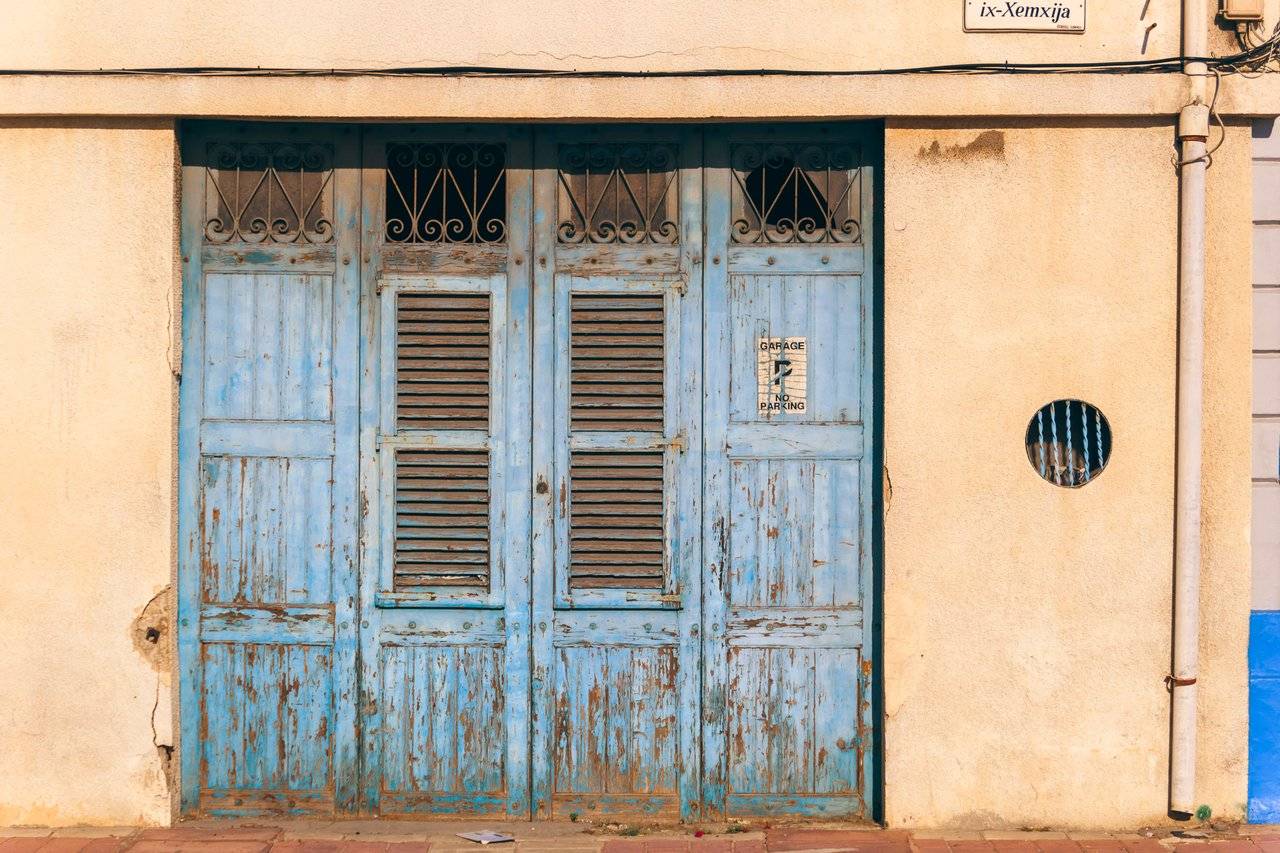
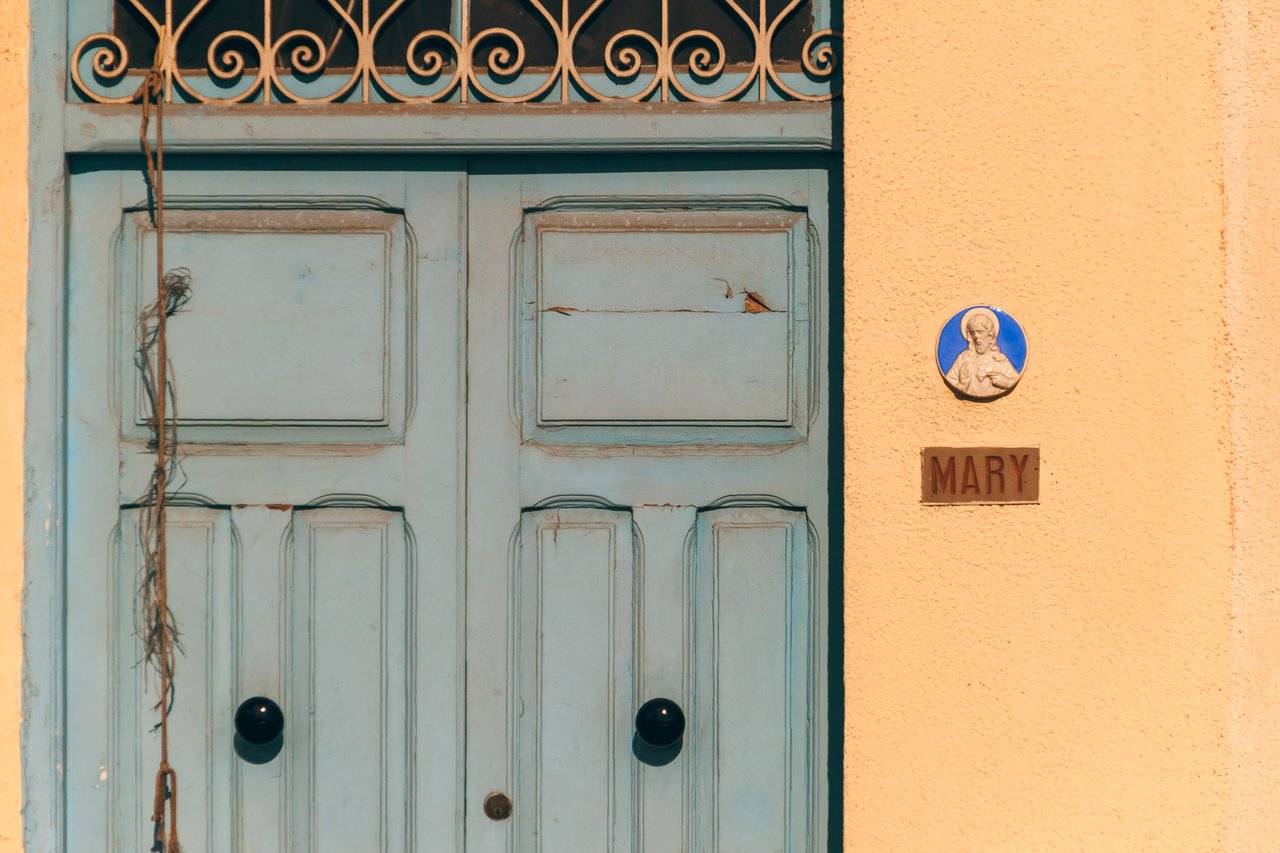
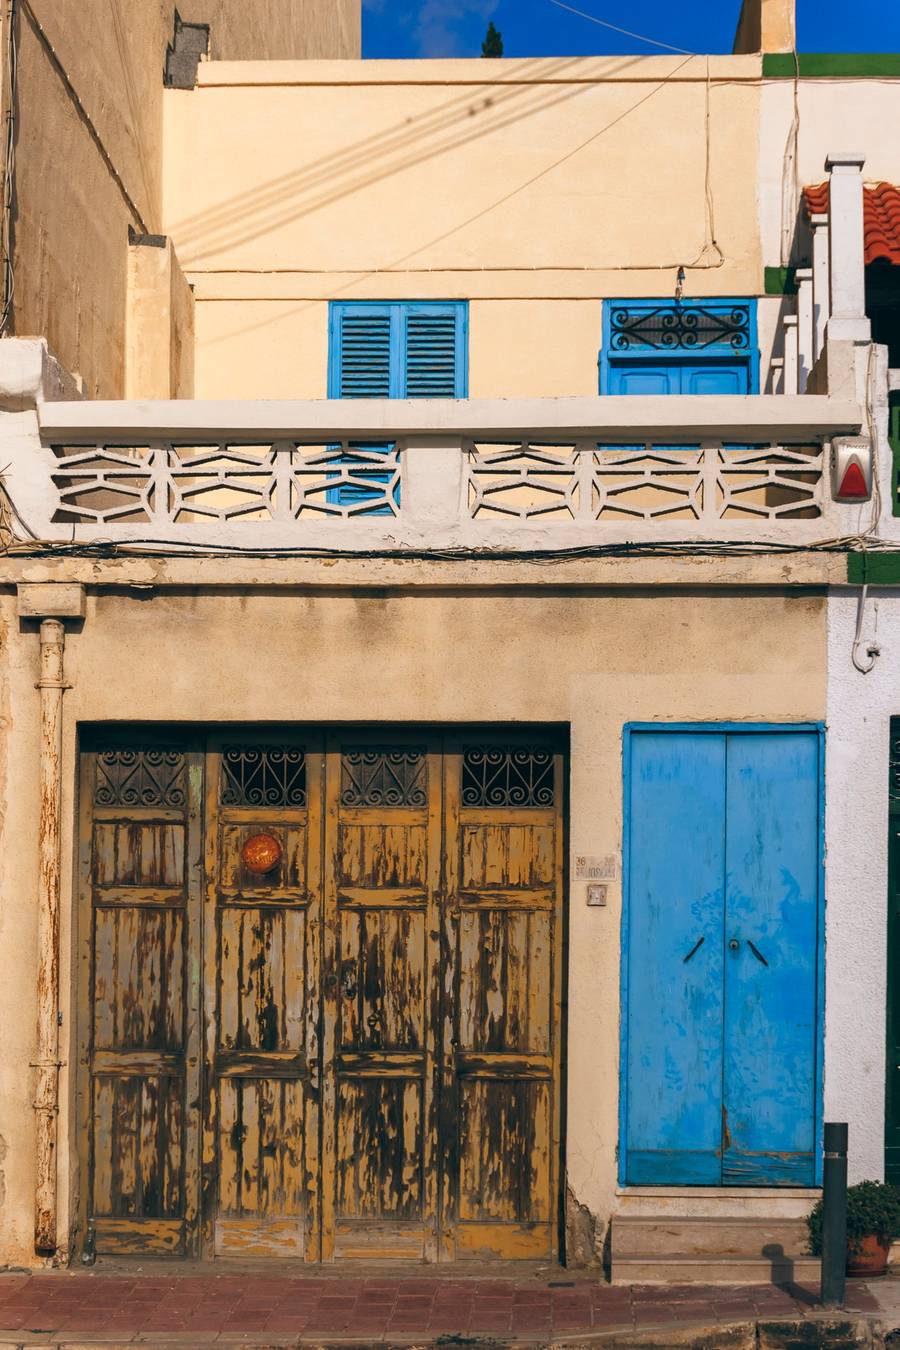
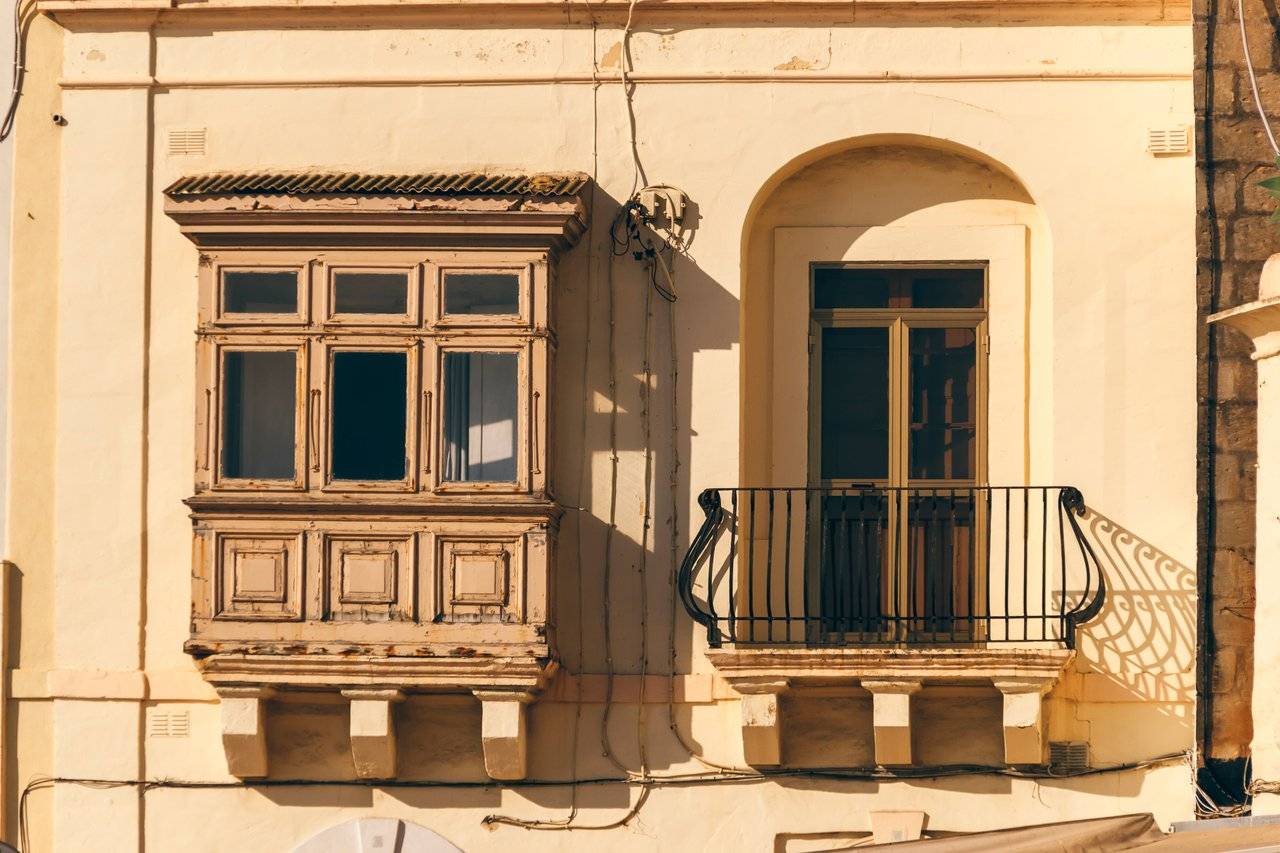
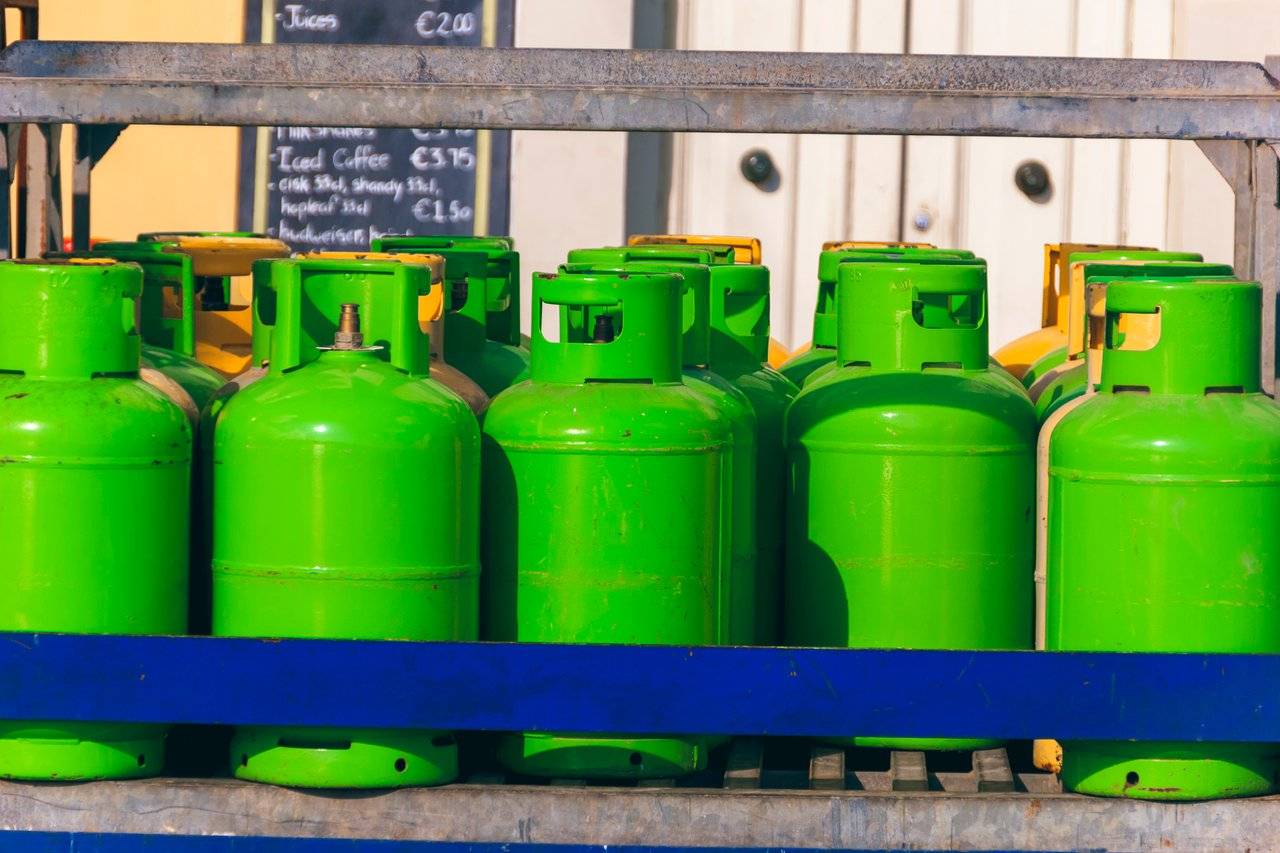
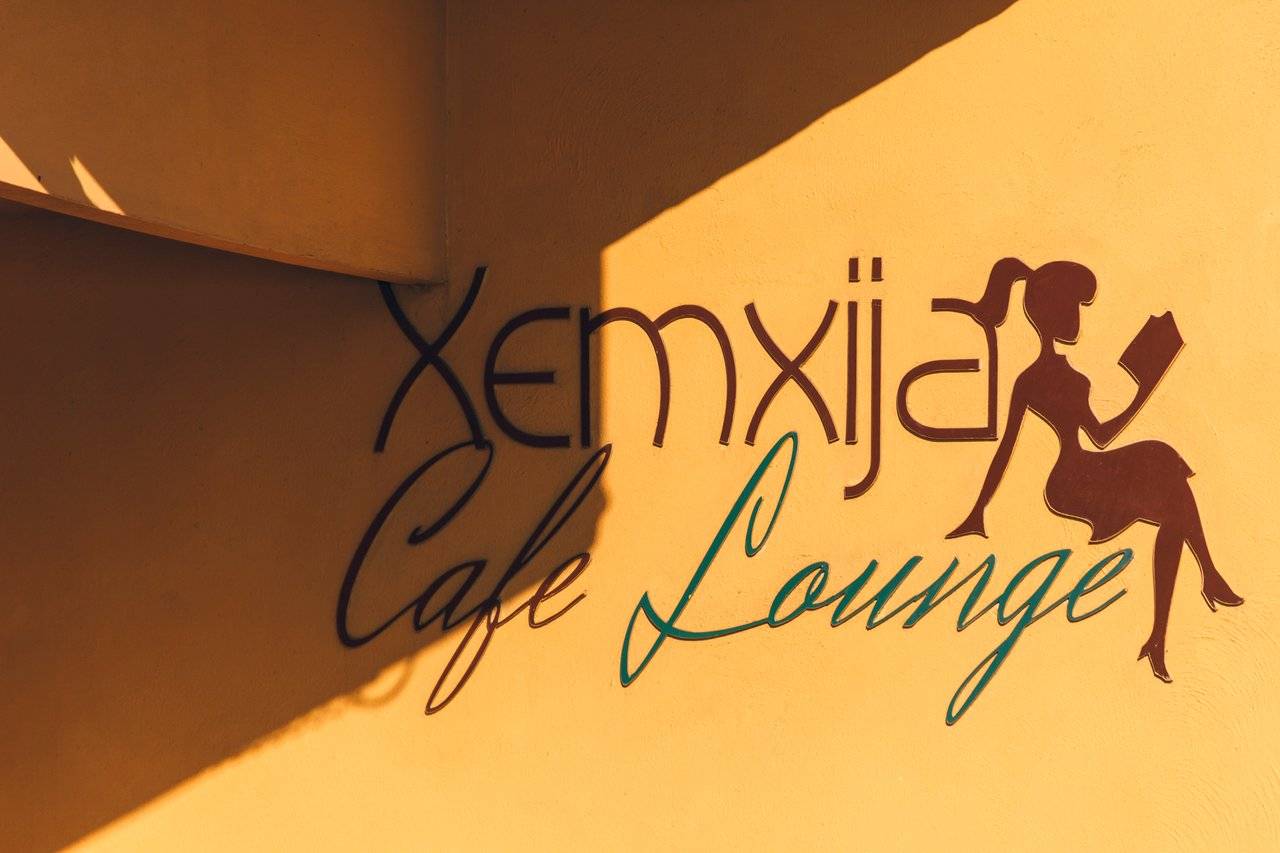
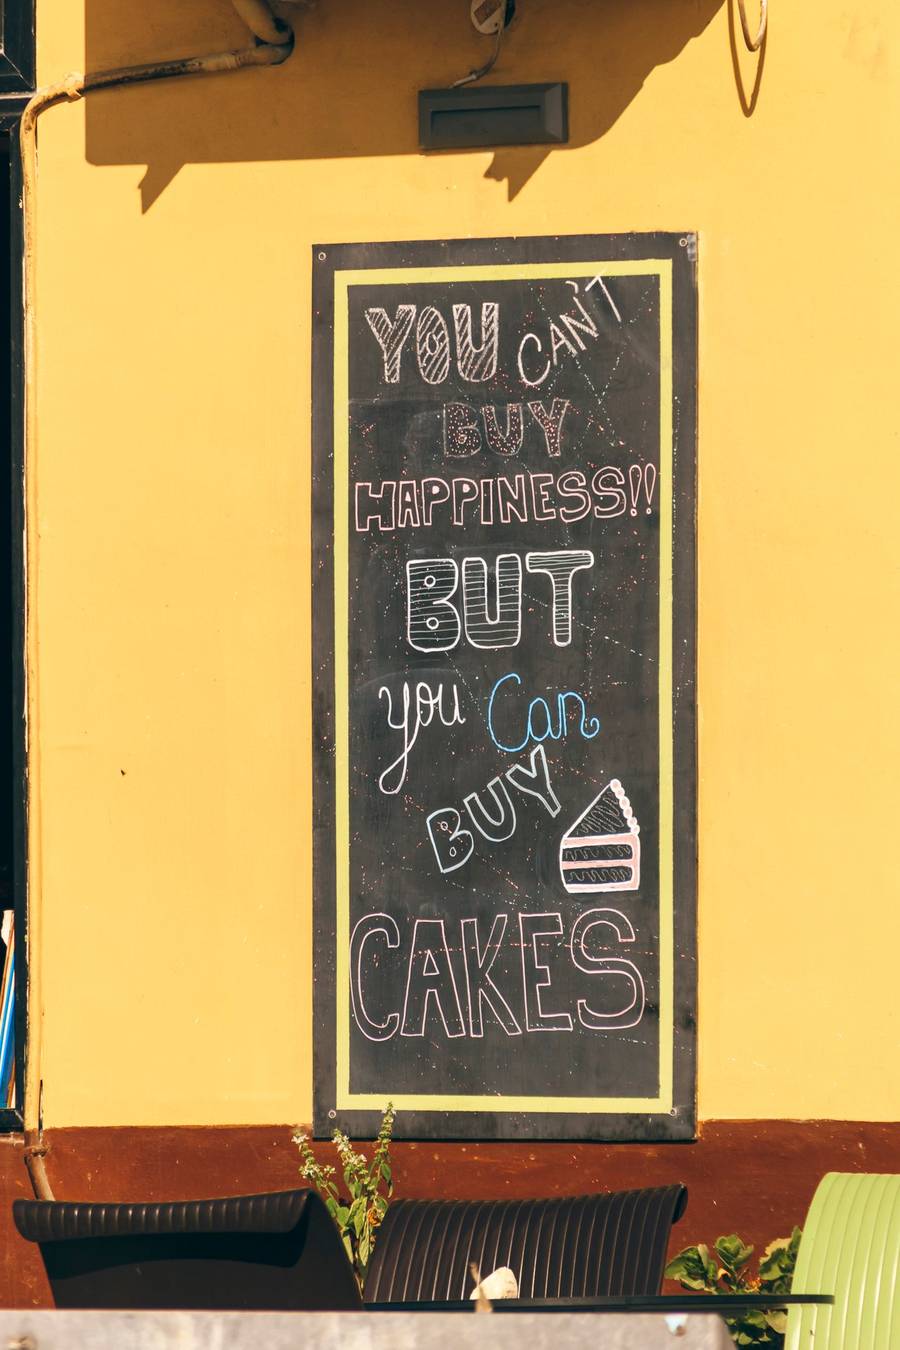
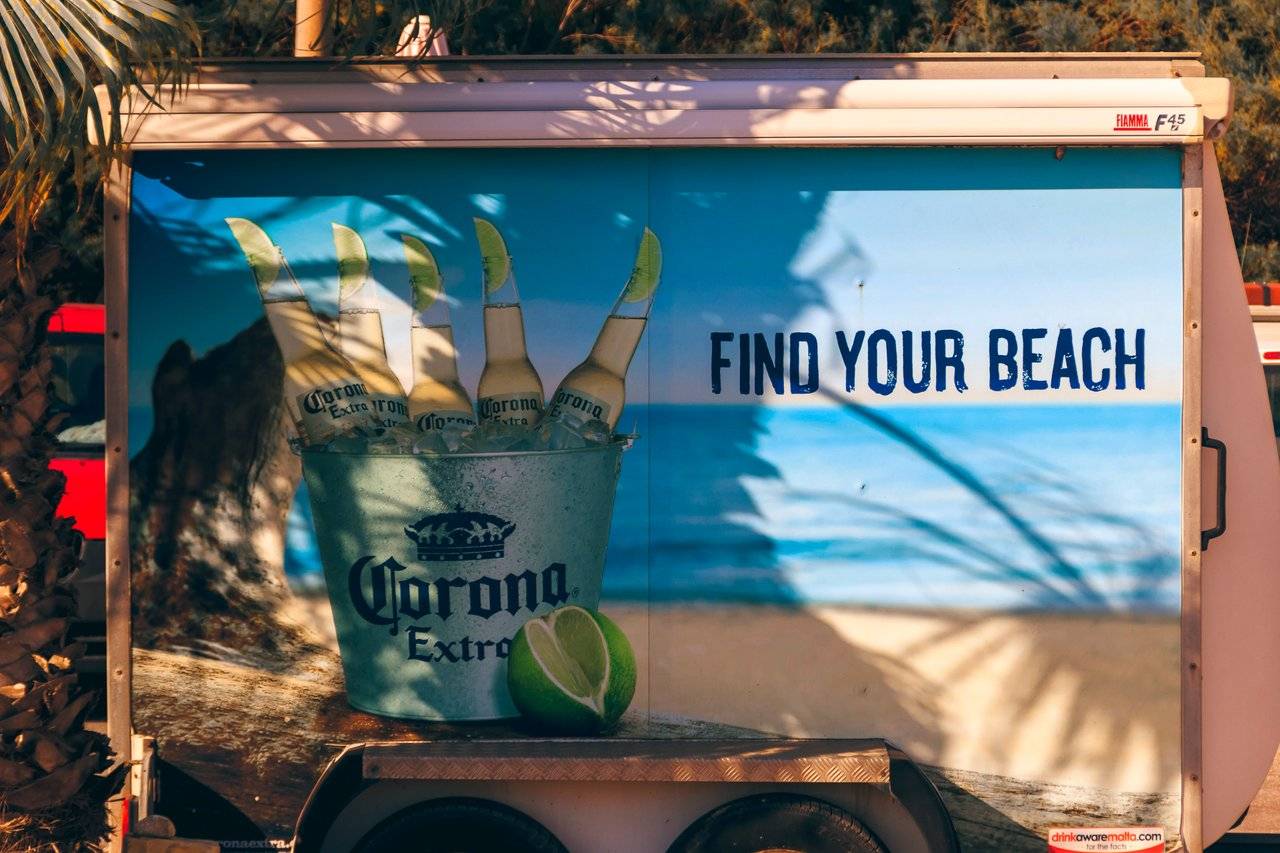
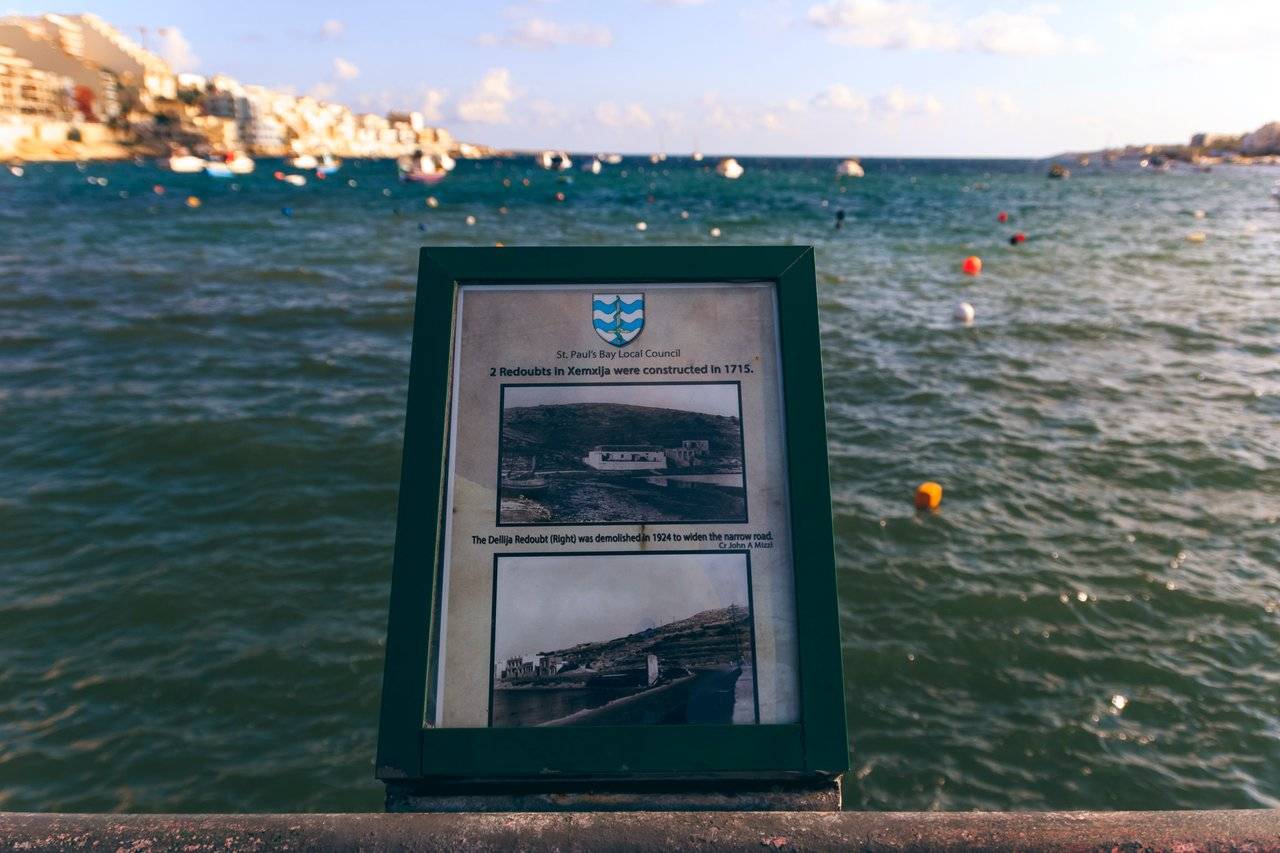
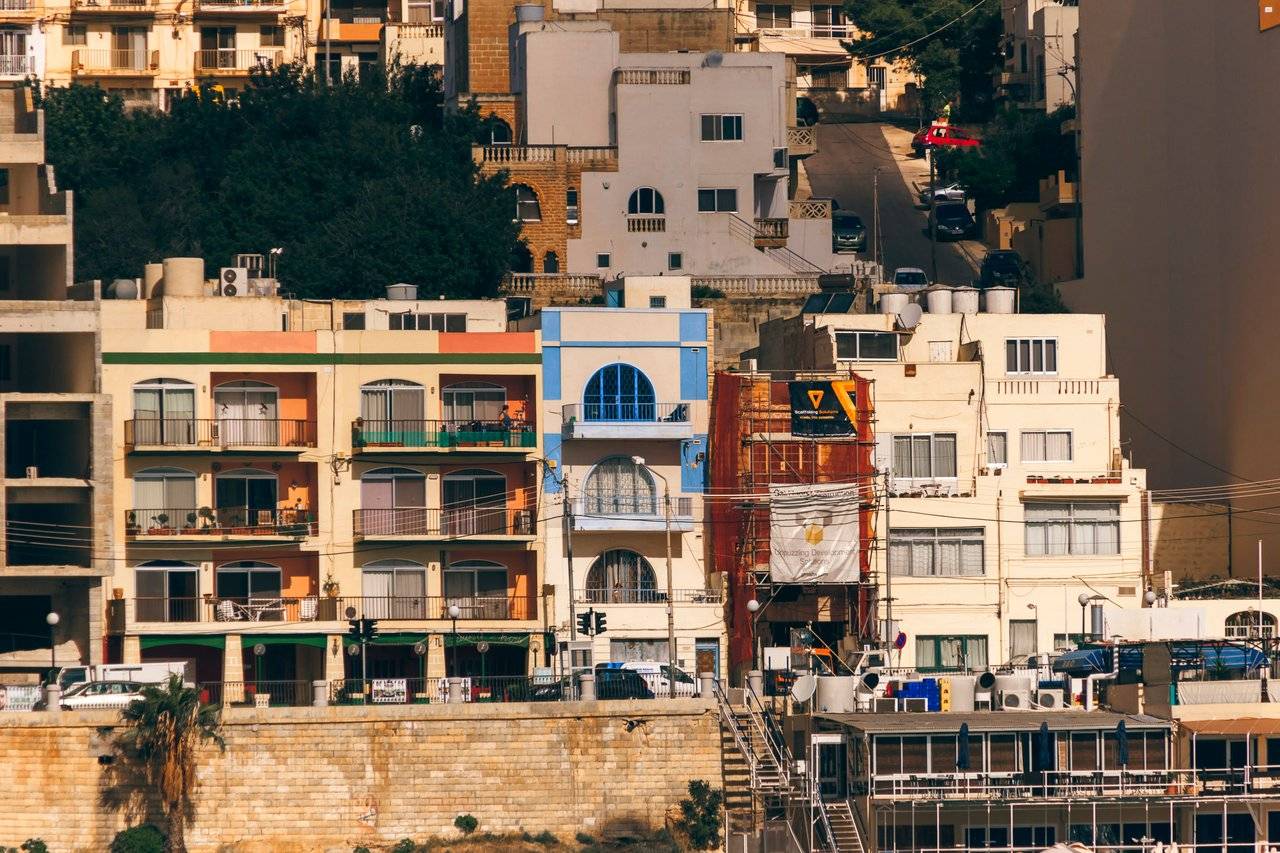
While seaside and boat views are always attractive, lets not to forget other side of the street. And it is really full of amazing examples of architectural details and various interesting signs. And not to forget, all of them are easily accessible to be photographed with same long focal range lens
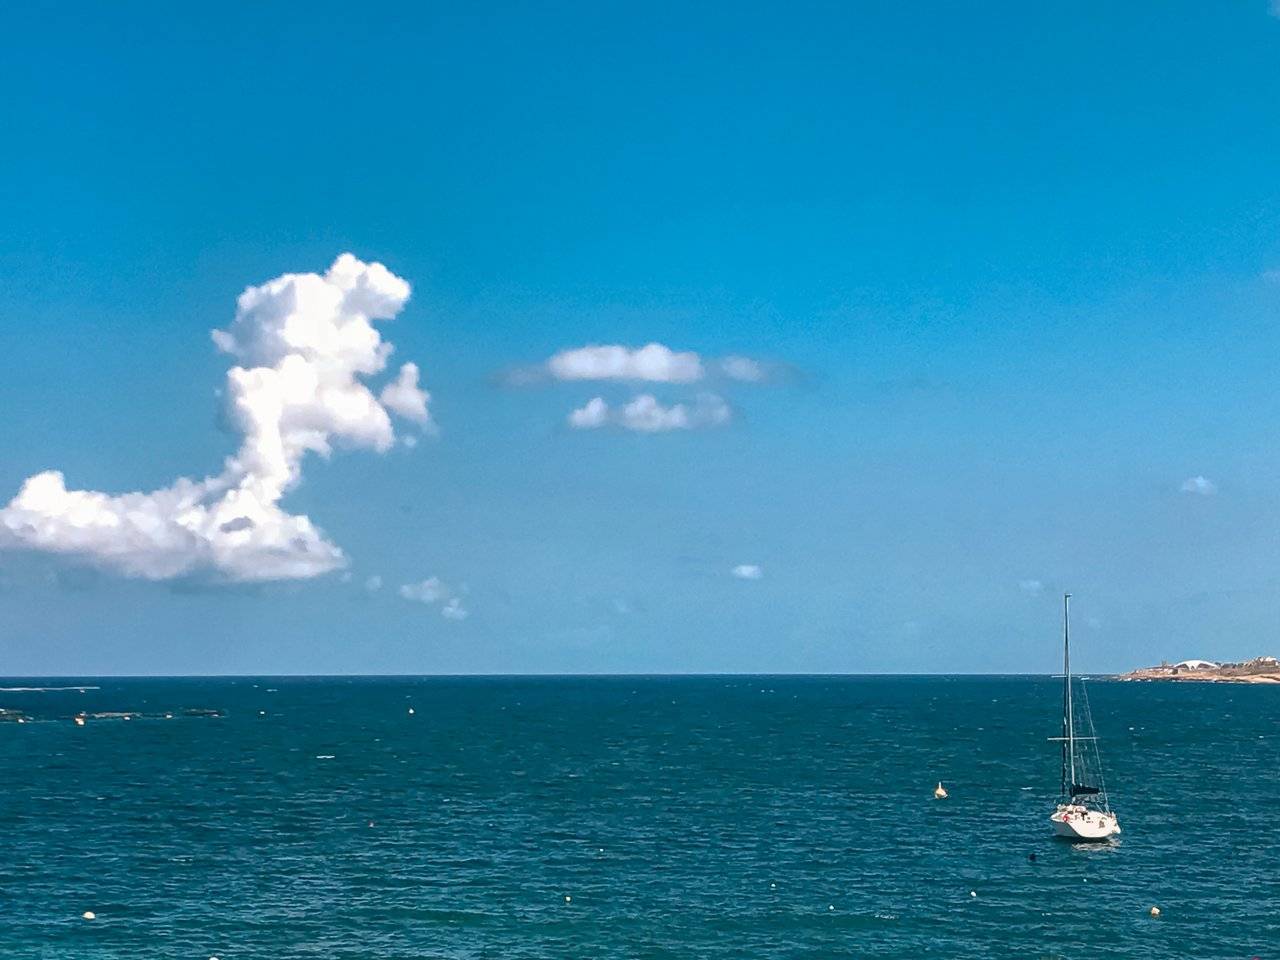
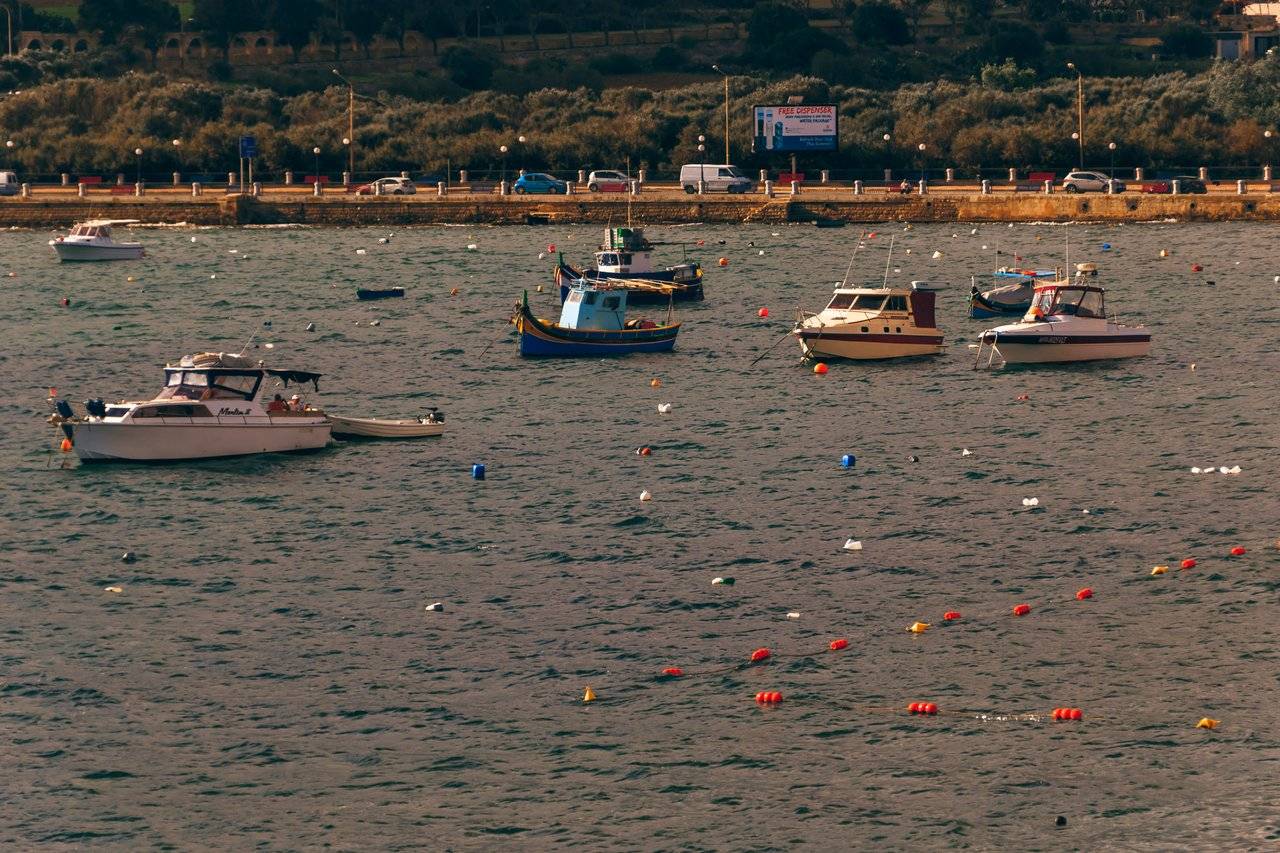
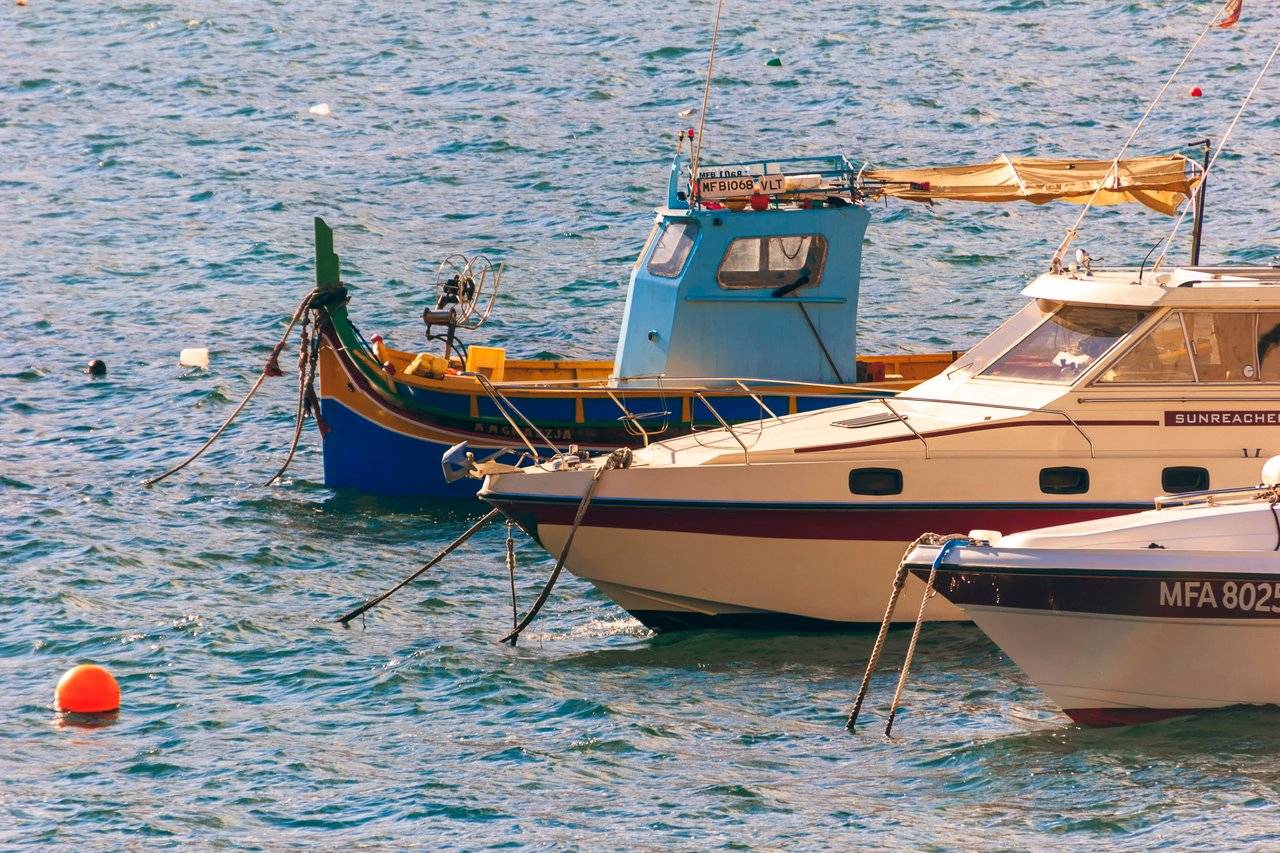
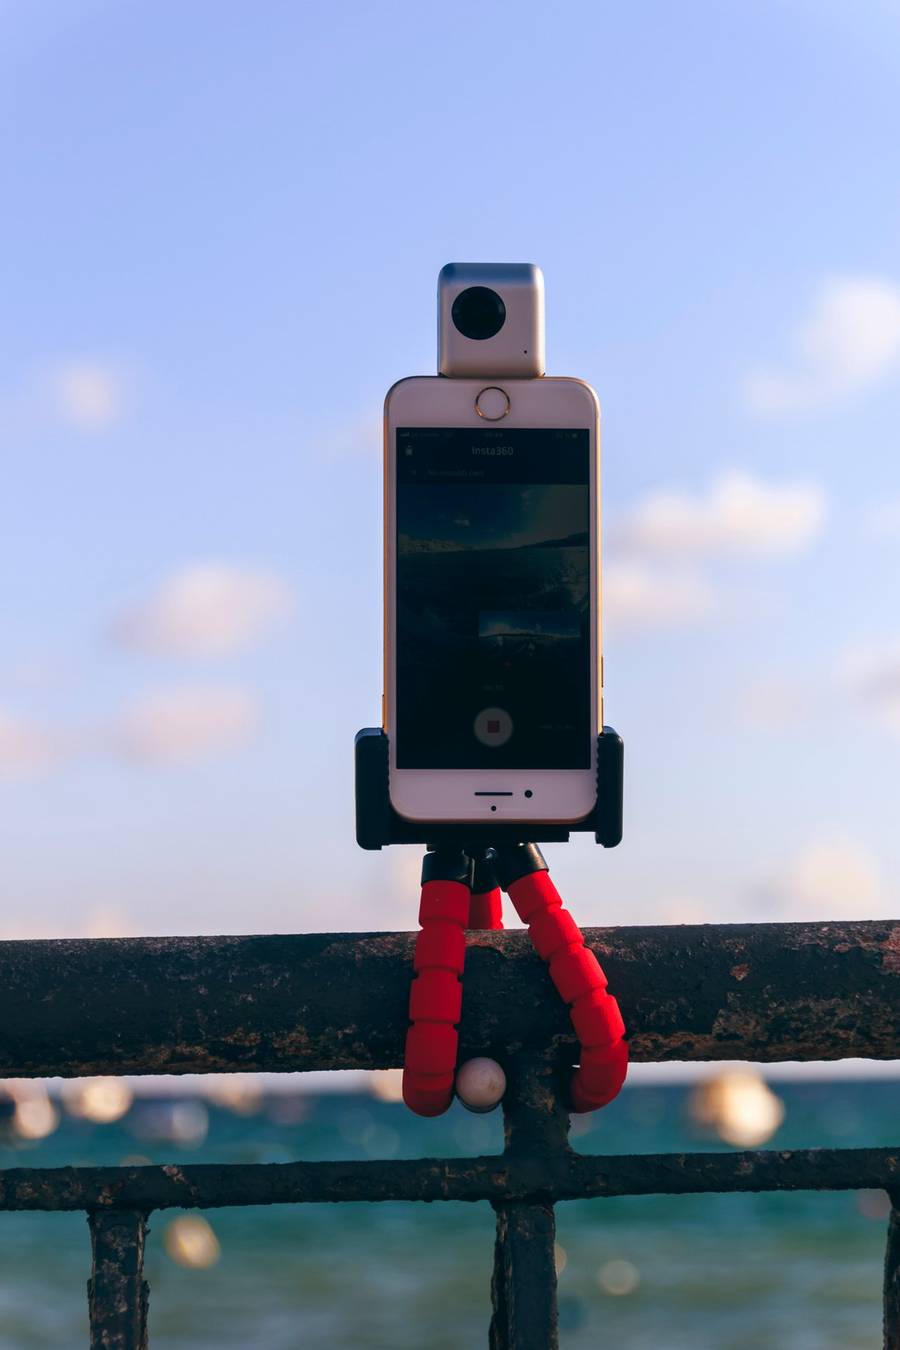
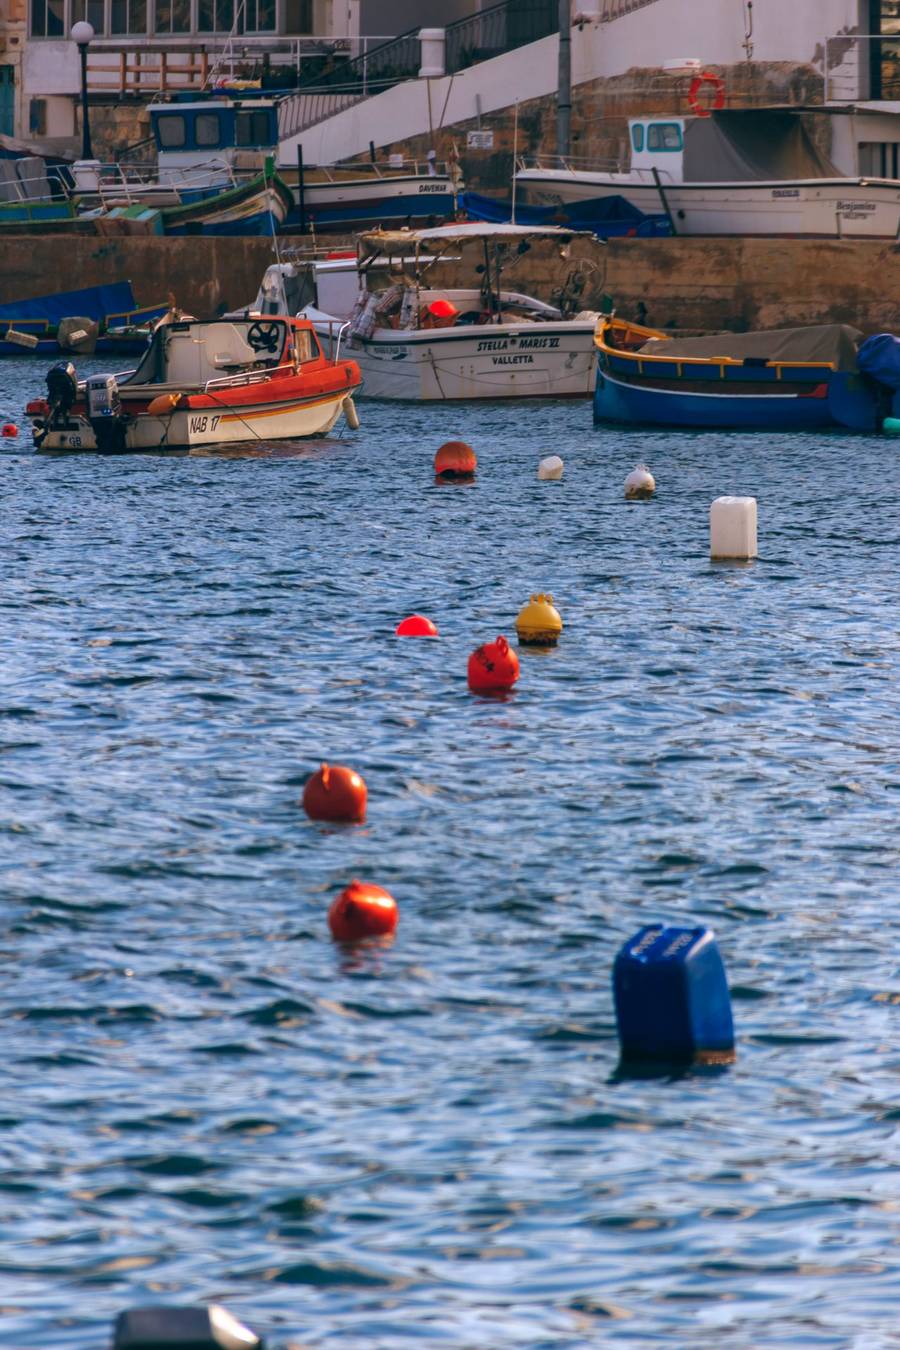
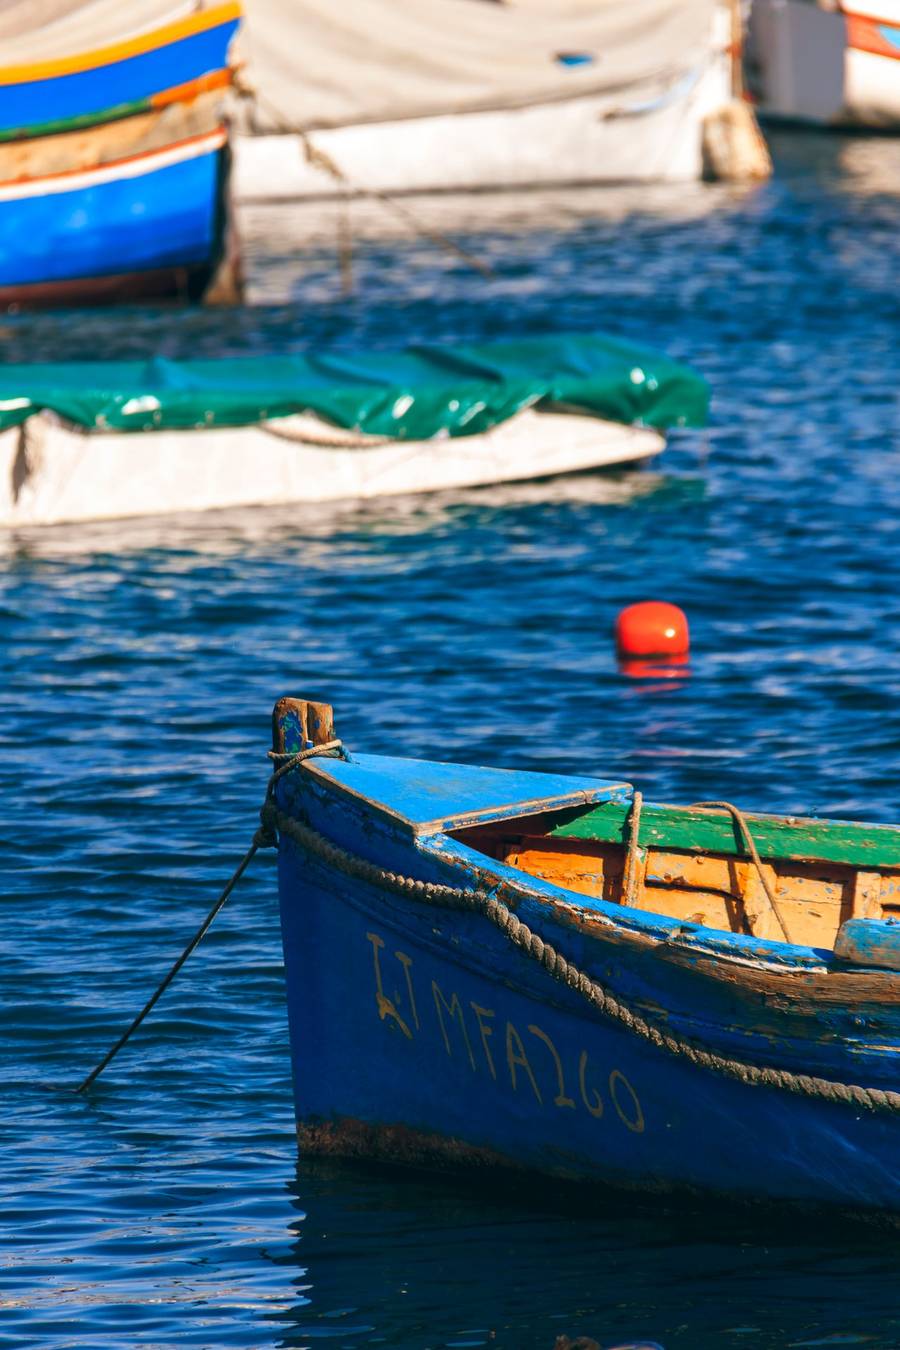
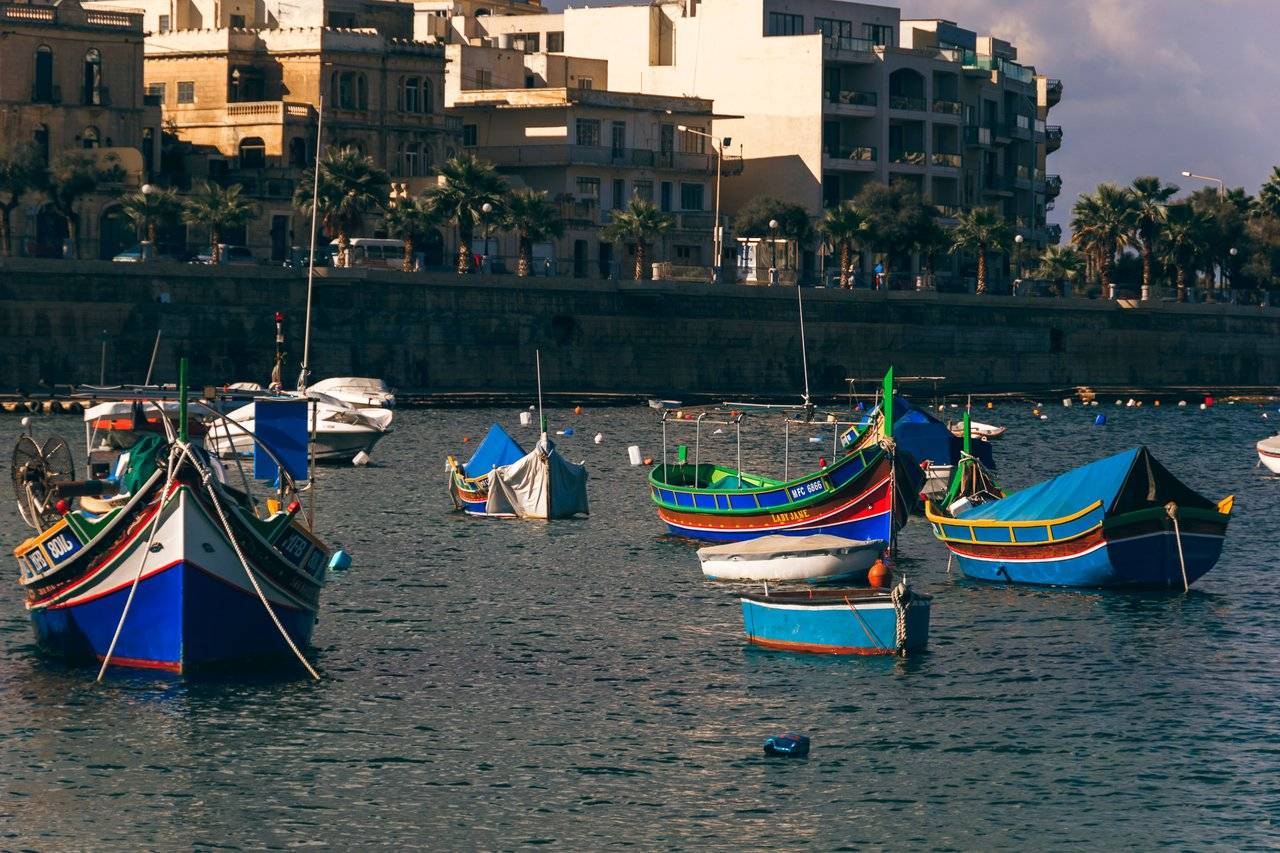
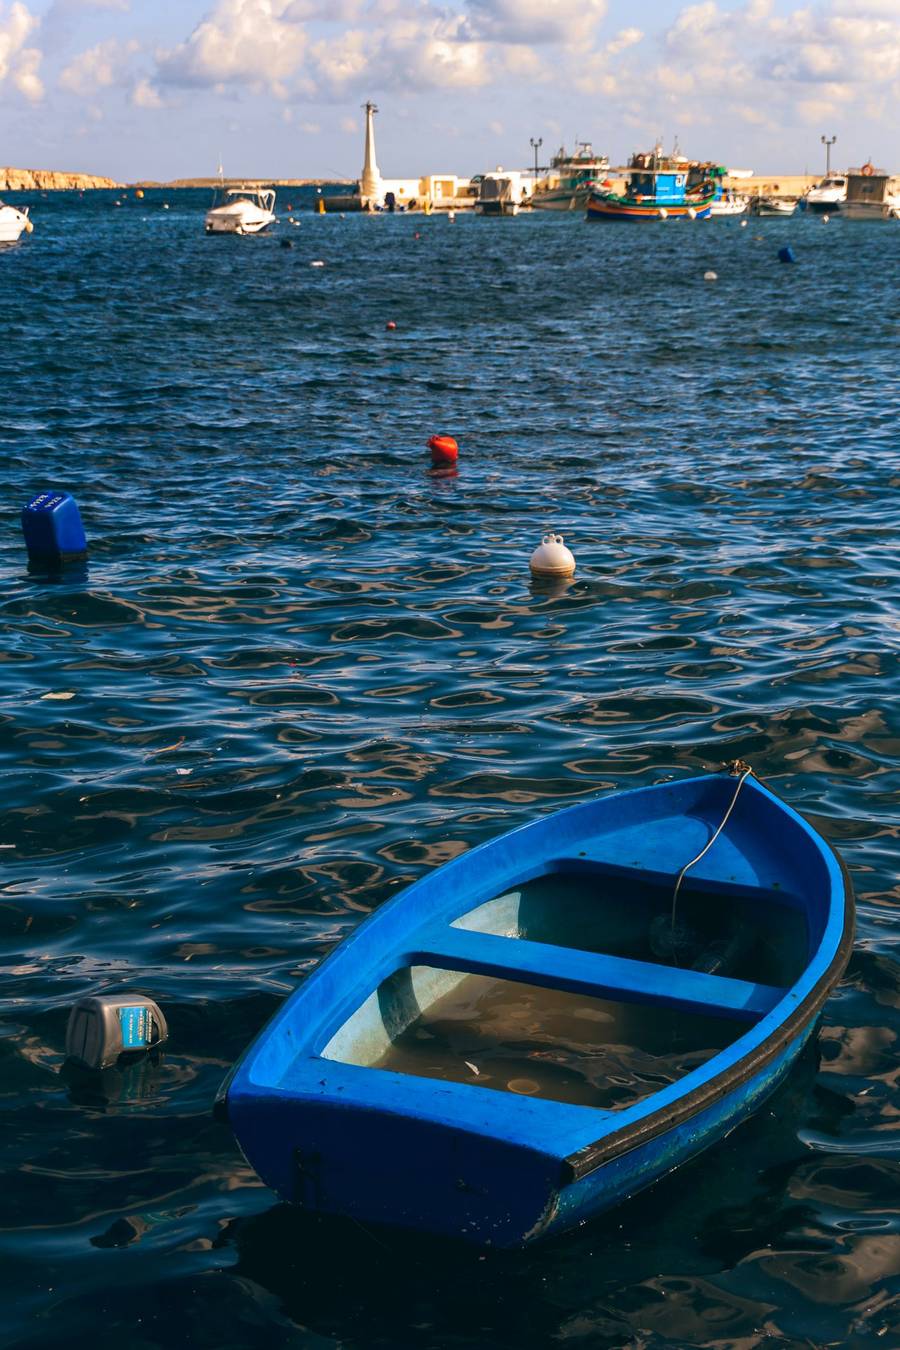
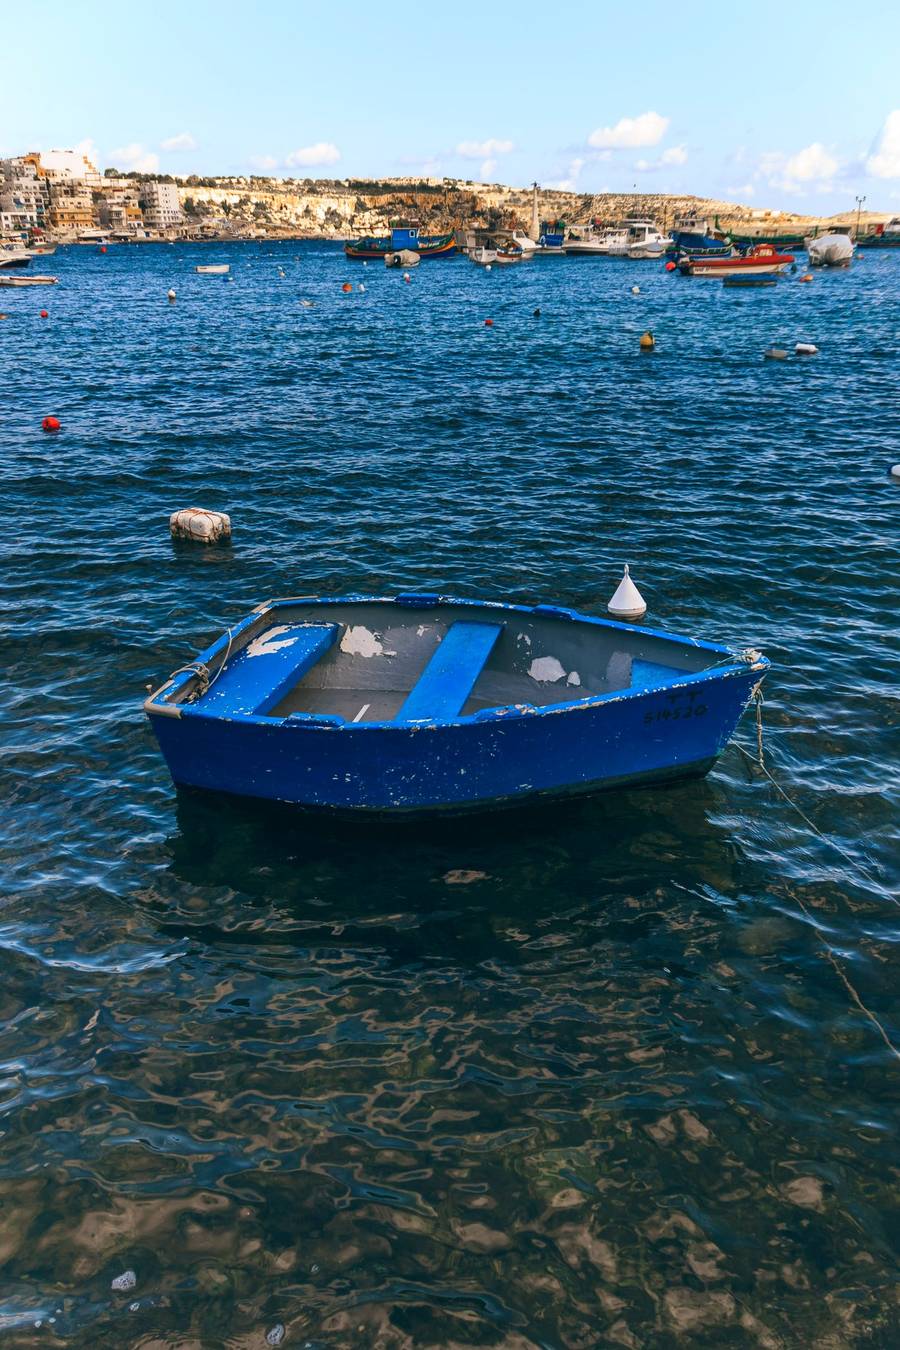
Reaching the main promenade of the Bay there are nice benches there just to sit and relax looking at amazing sea view with a lot of colorful boats all around. Also it is good time to take 360 selfie :)
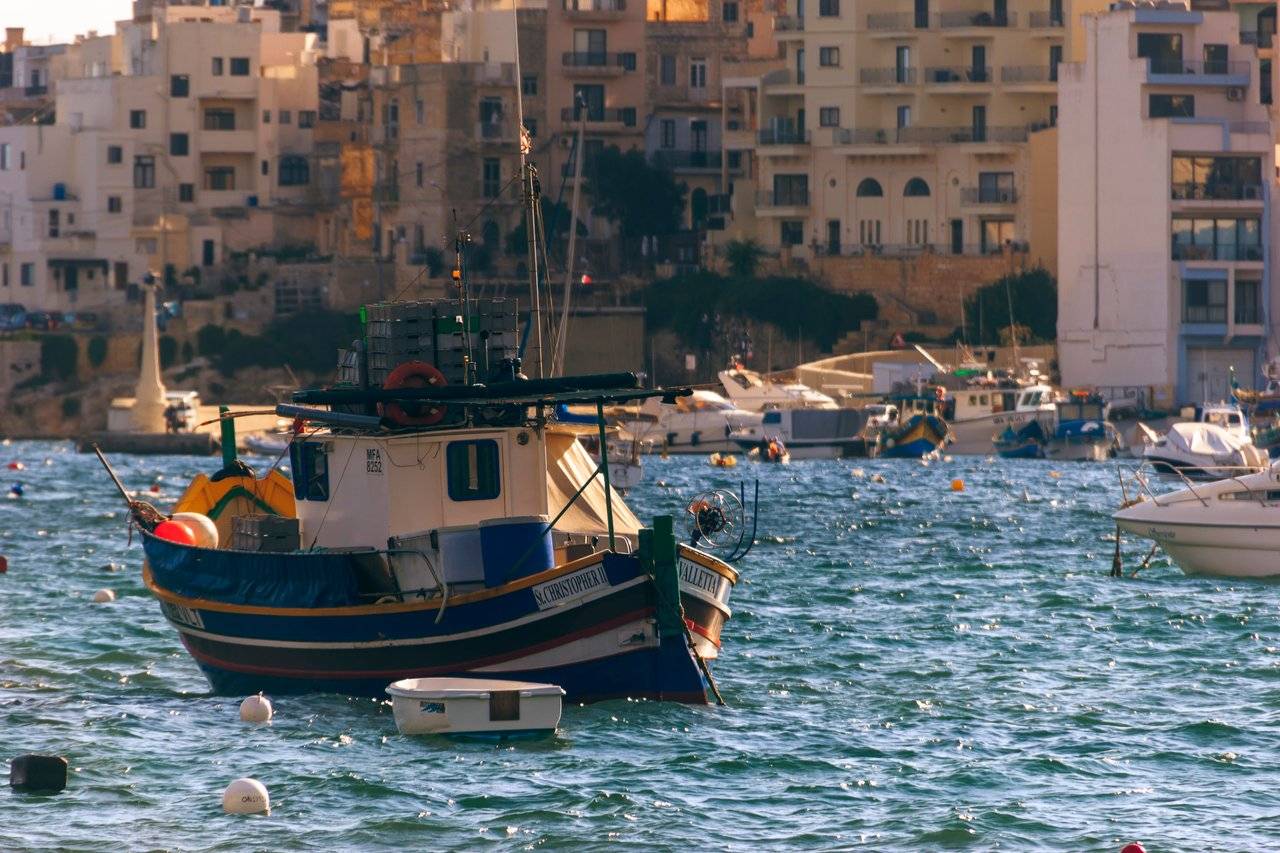
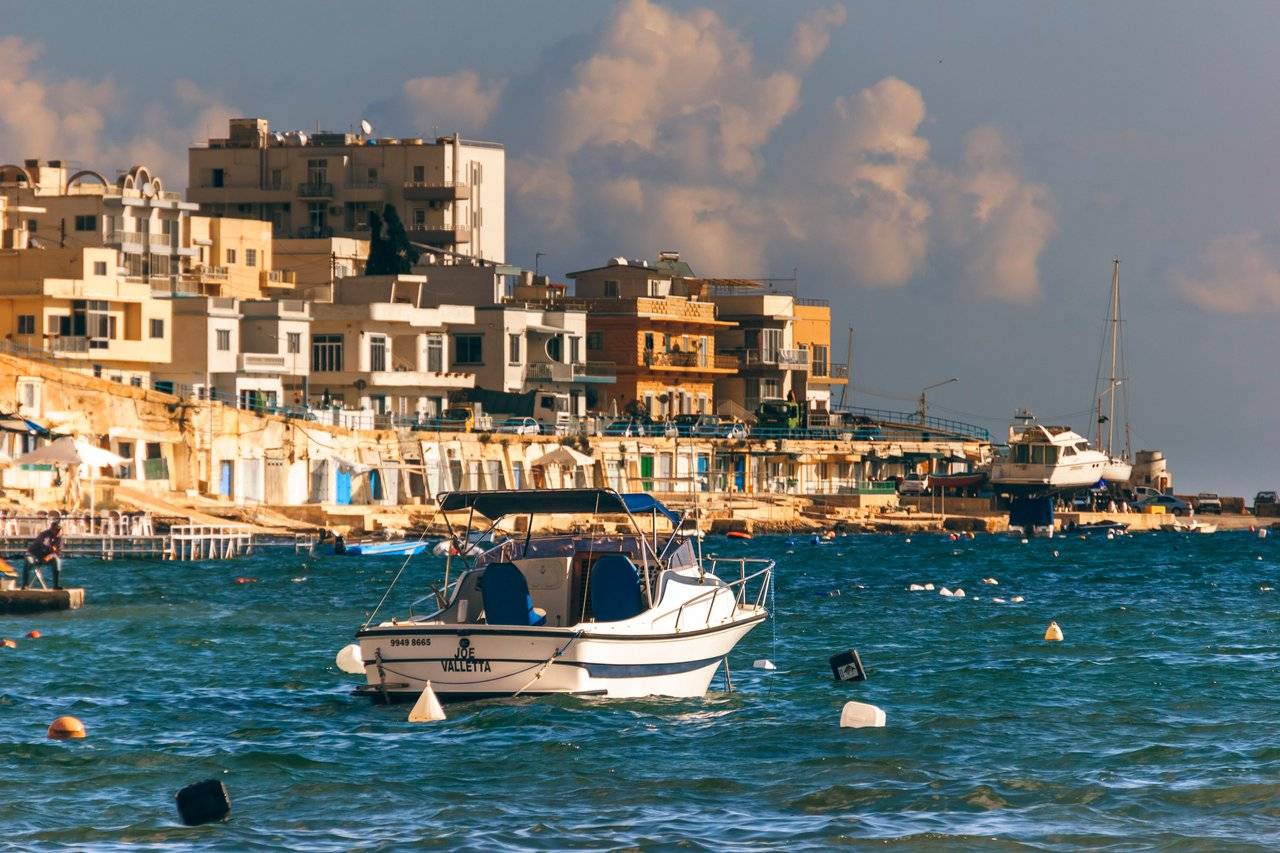
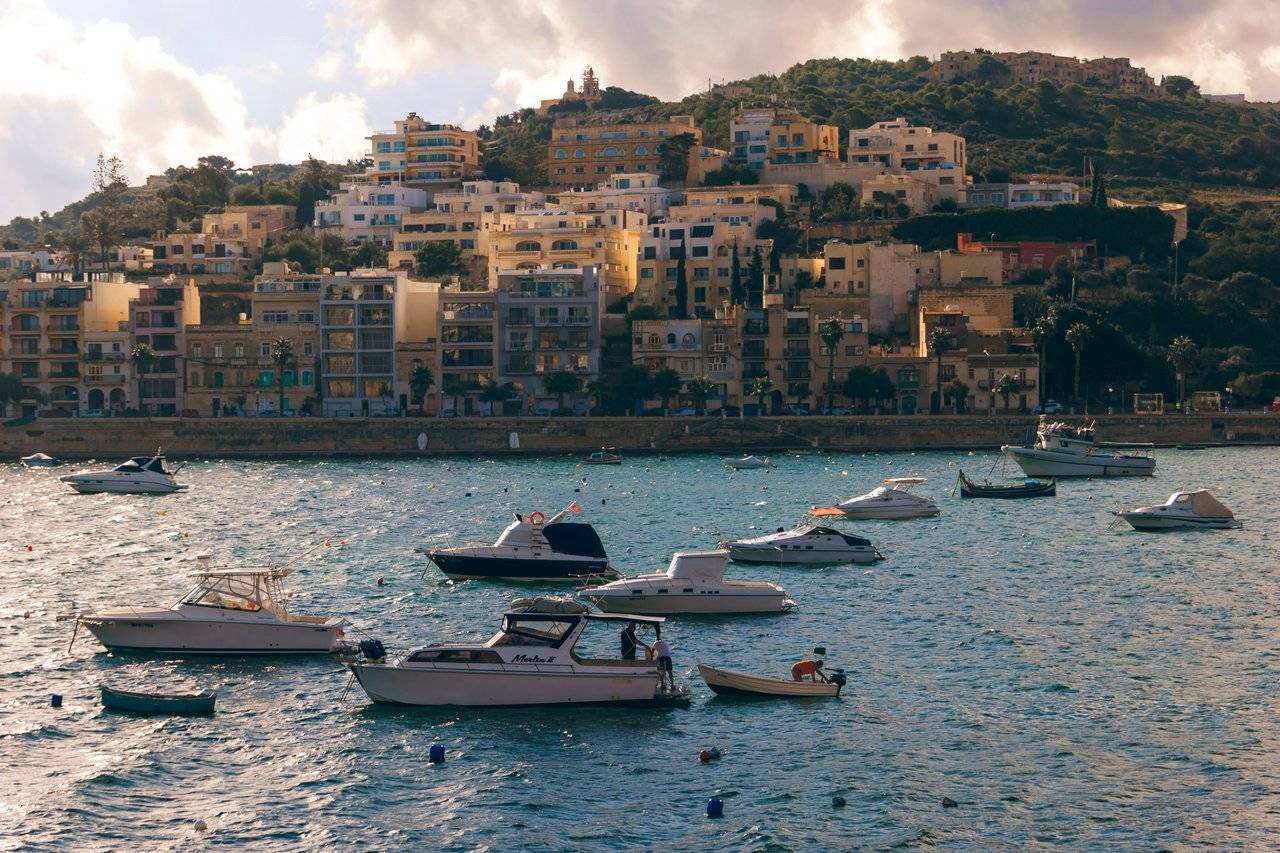
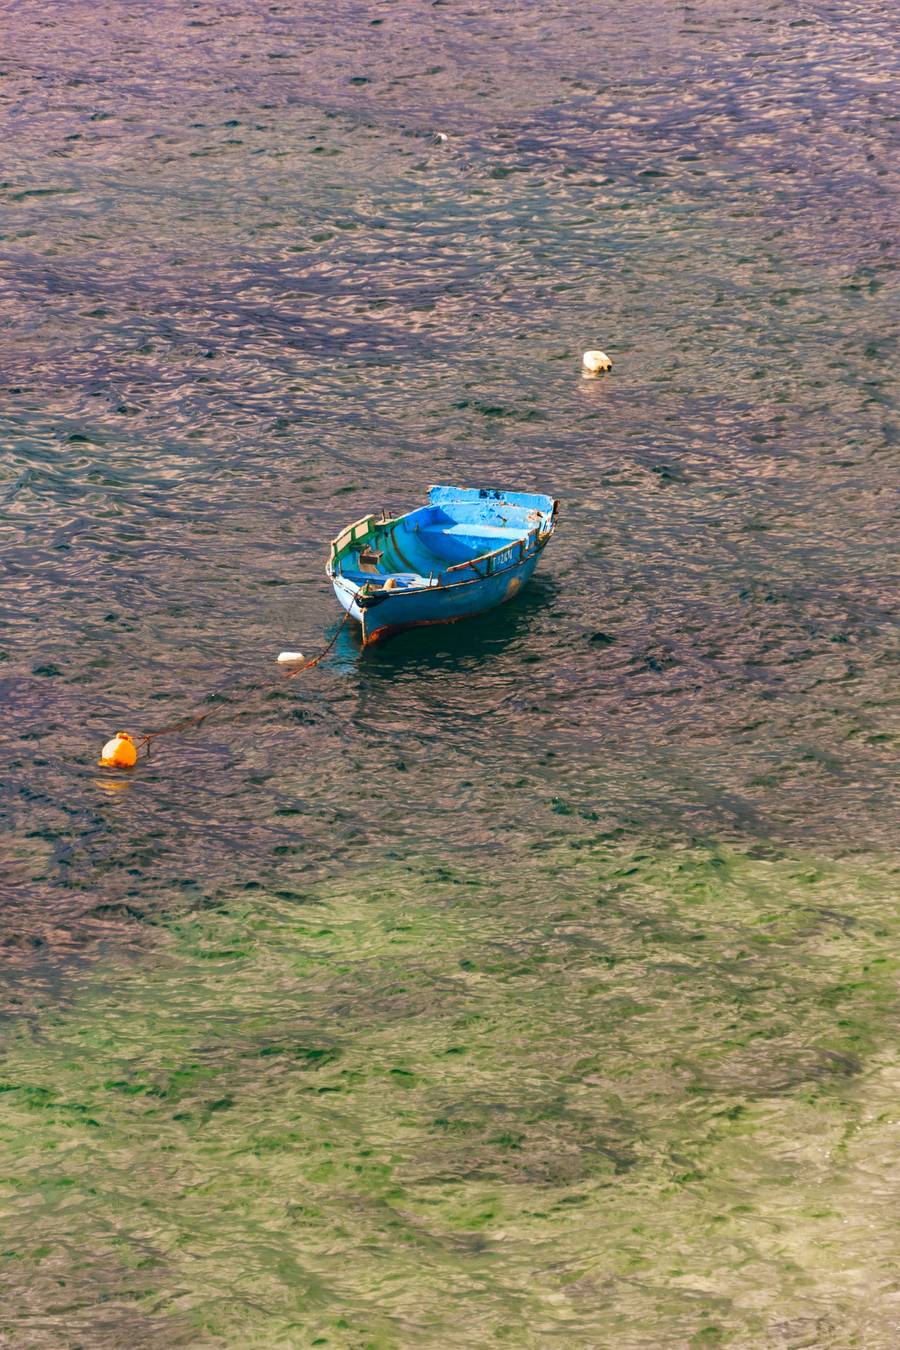
Those colorful boats are just perfect subject for photography. Problem is they are too many. With too many possibilities, composition and shooting points. Here are few of...

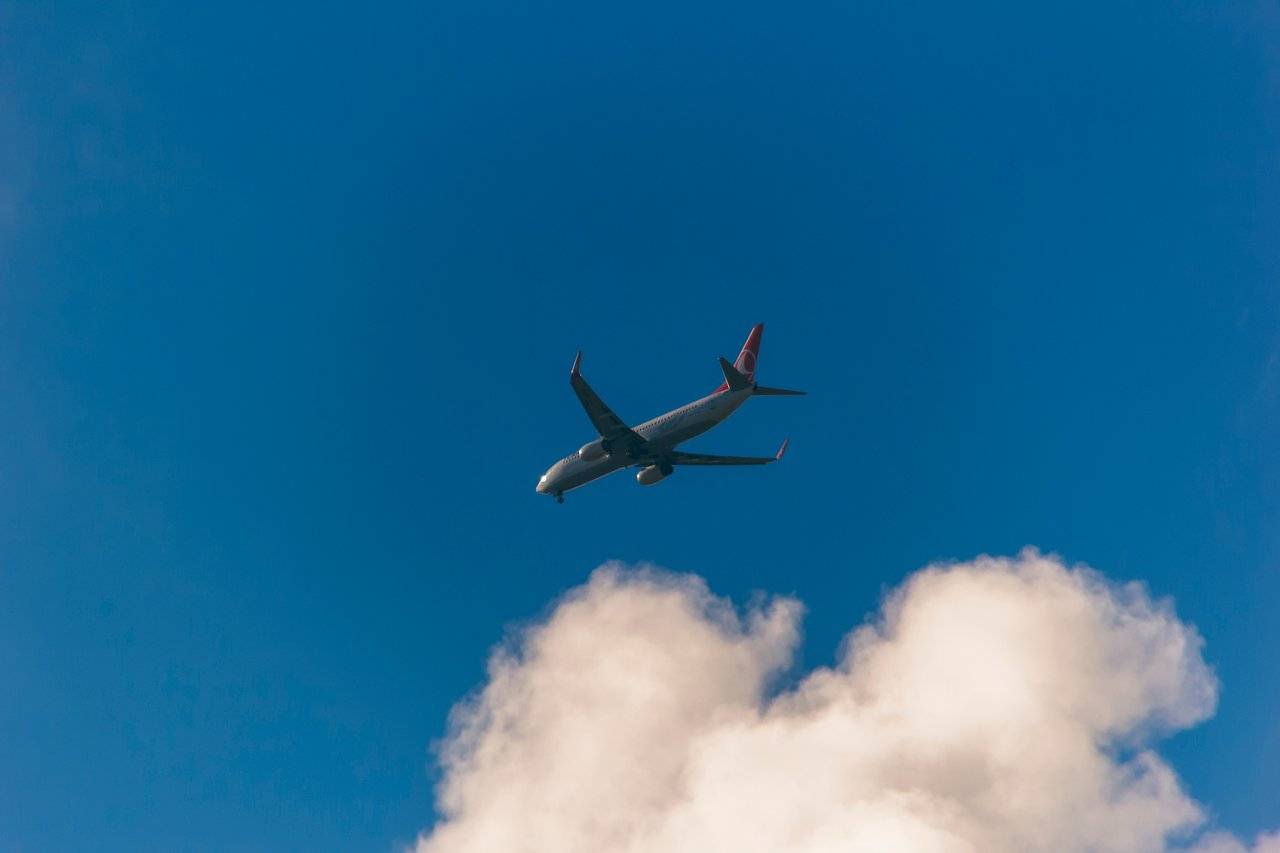
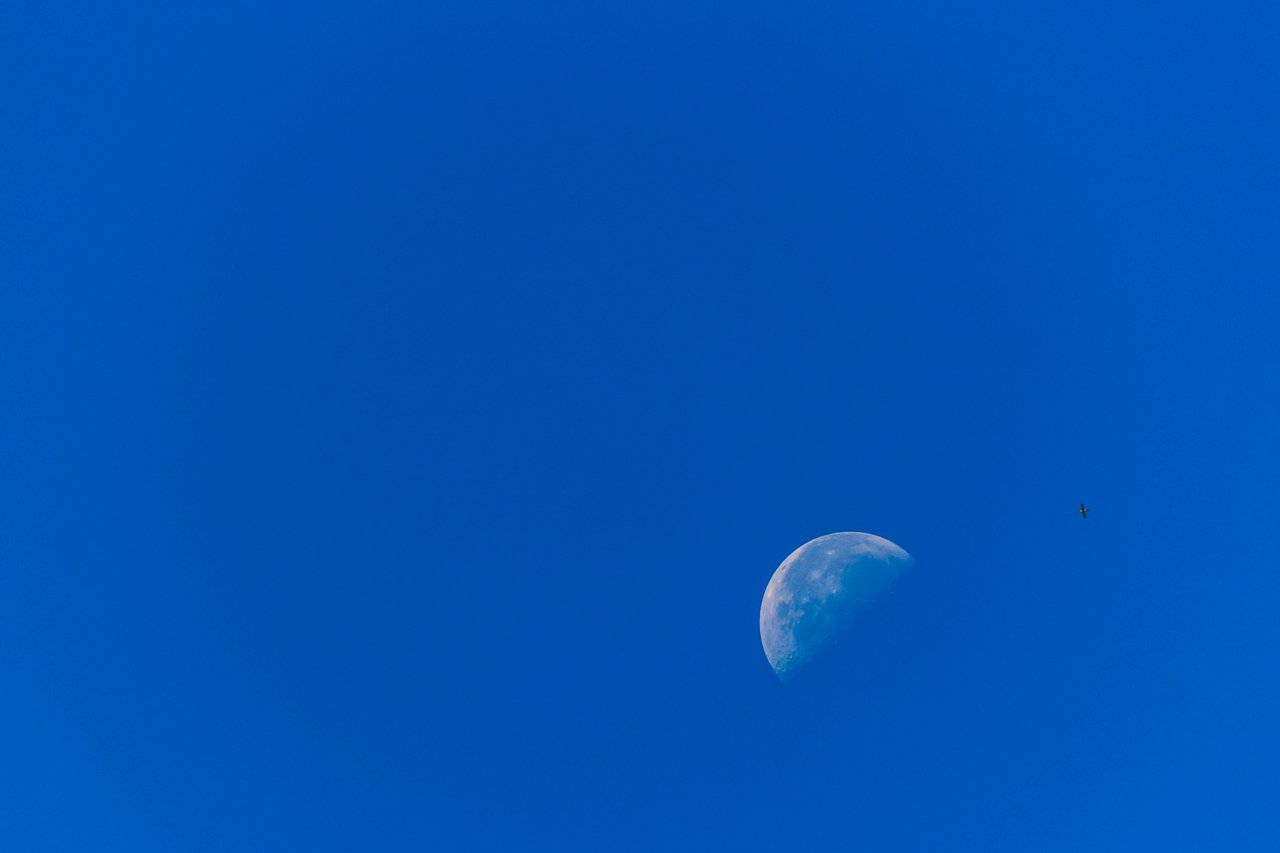
Waht else? Well, since Malta is very small, obviously airport is very near. So why not to catch a plane? Or even a moon? Easy!

There are actually much more photos done during this walk and, as have mentioned, that will be material for some future stories as well.
And if you are still here with me and had enough patience to go through all the visuals, the bonus is short (or maybe not so short LR tutorial
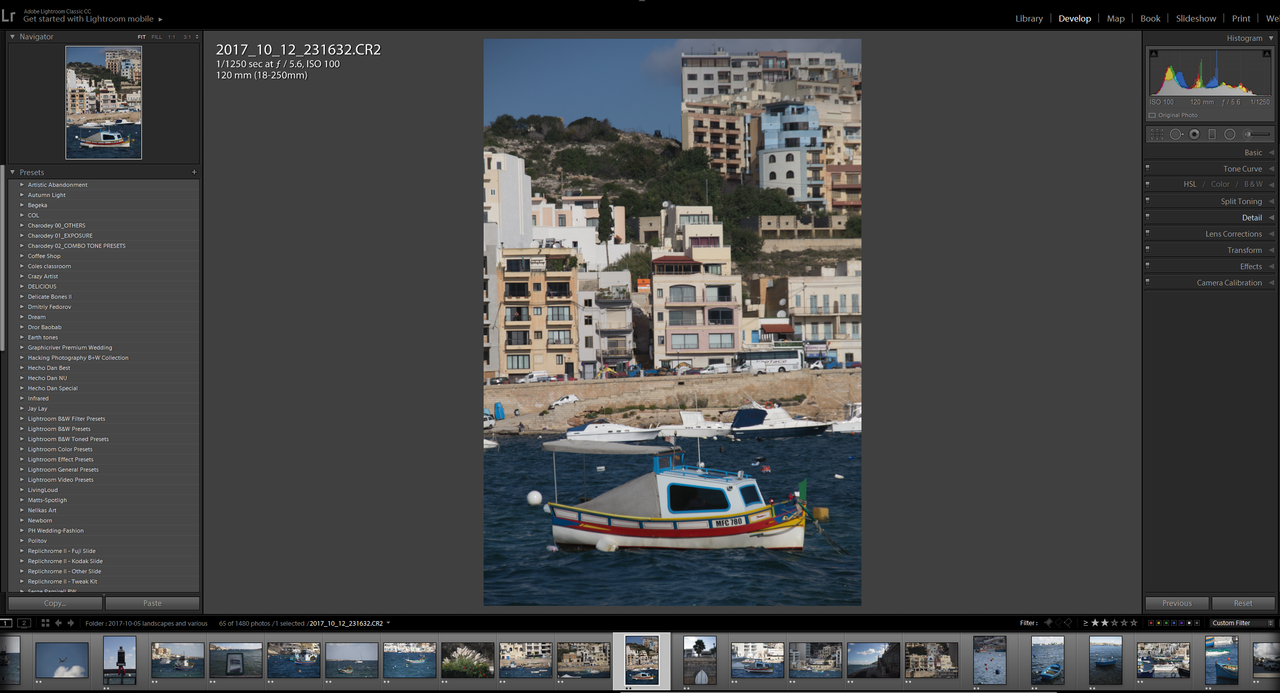
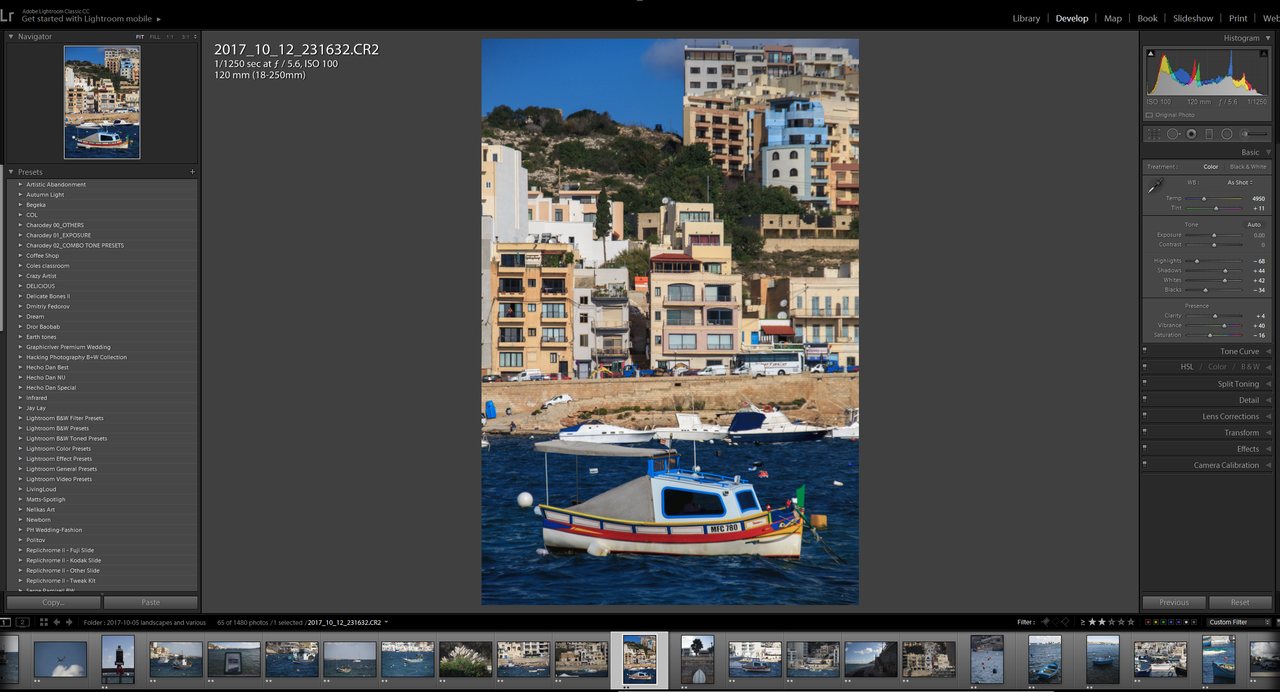
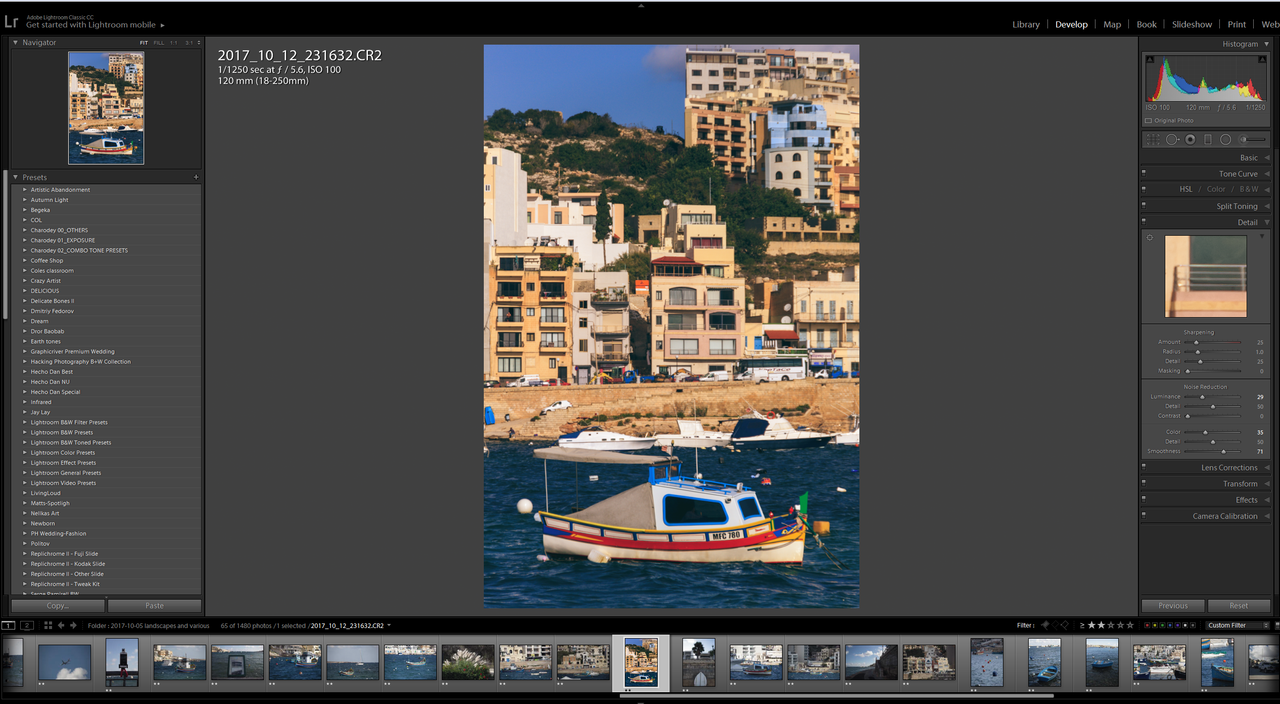
Step 1. Initial photo imported to LR catalogue
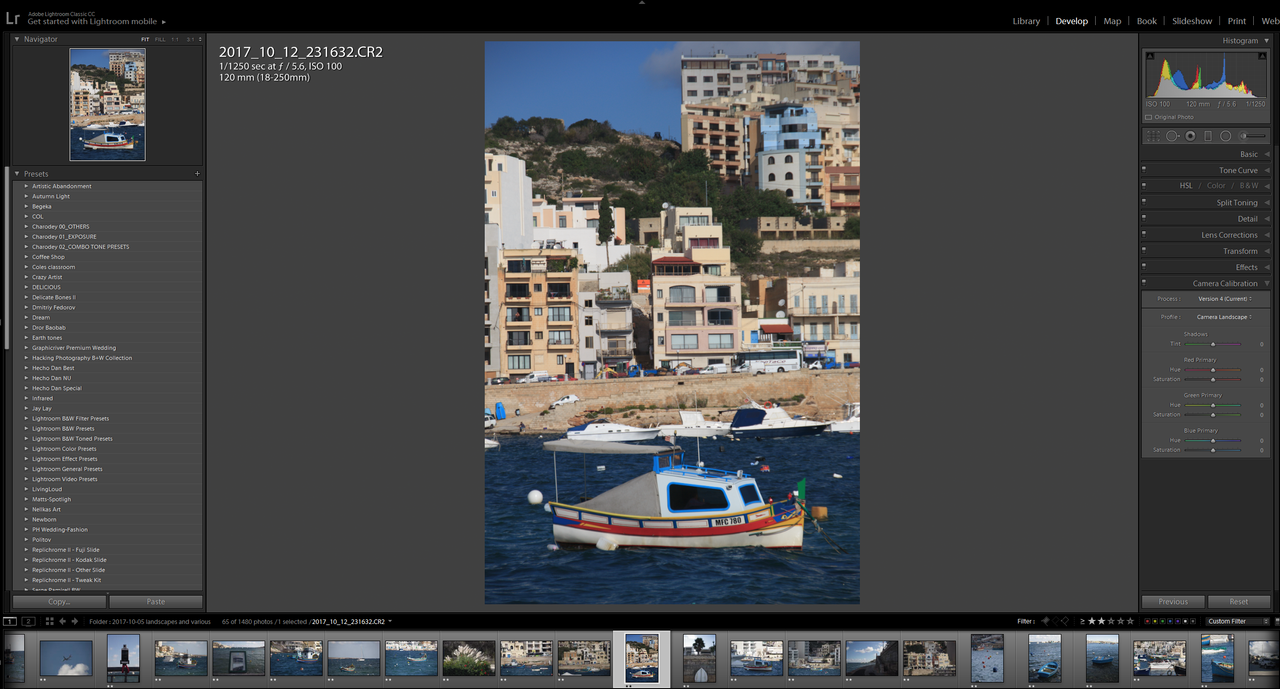
Step 2. Camera calibration - Camera Landscape
Step 3. Cropping angle 1.08. Just a little bit to make vertical lines straight

Step 4. Basic adjustments. Highlights -68 / shadows +44 / whites +42 / blacks -34 / clarity +4 / vibrance +40 / saturation -16
Just remember there is no cure from all diseases :) Every set of photos requires own manual correction (or even every photo in a same set may require additional tweaks). Sometimes it is really matter of taste and finally the final result depend you your tastes only
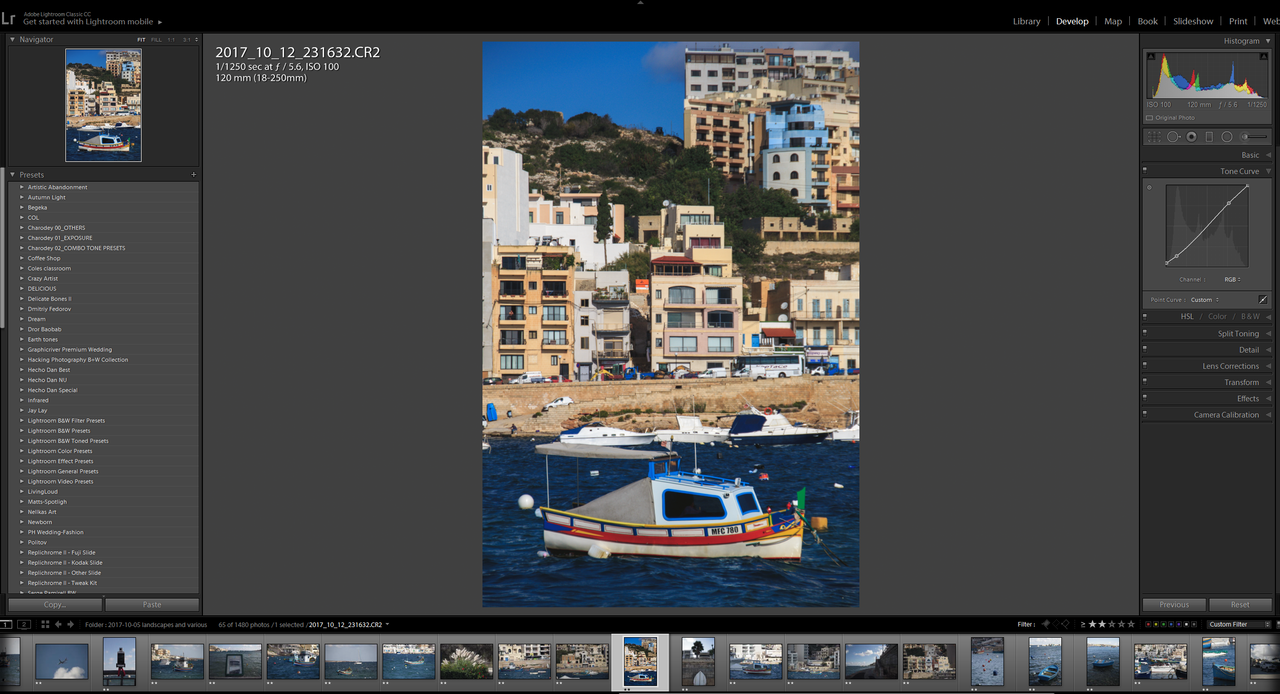
Step 5. Tone curve. Adding slightly more contrast by tweaking the curve. Shadows bit lower and highlight bit higher. While rising black point a bit too for some nice deeper colors effect
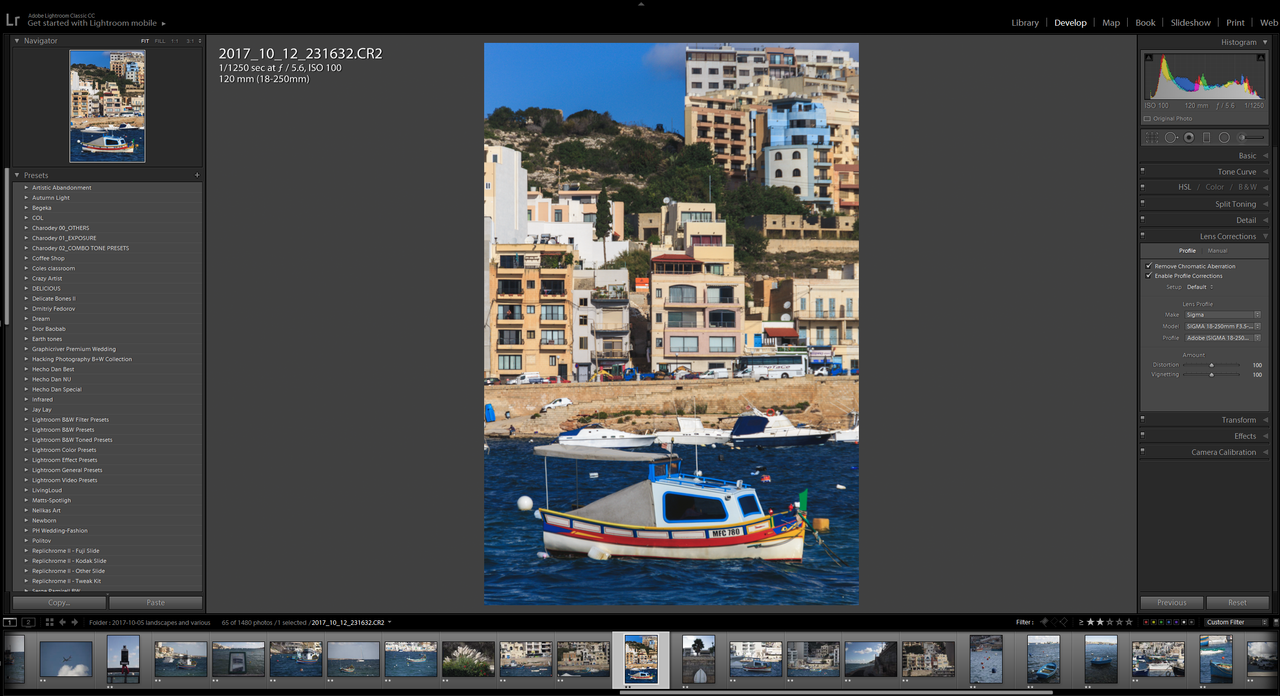
Step 6. Lens correction. Simply checking of those two boxes may reasonably improve the corners geometry and lighting. Or maybe not ;) So do not check boxes blindly, always look into the result. In this particular case worked very well
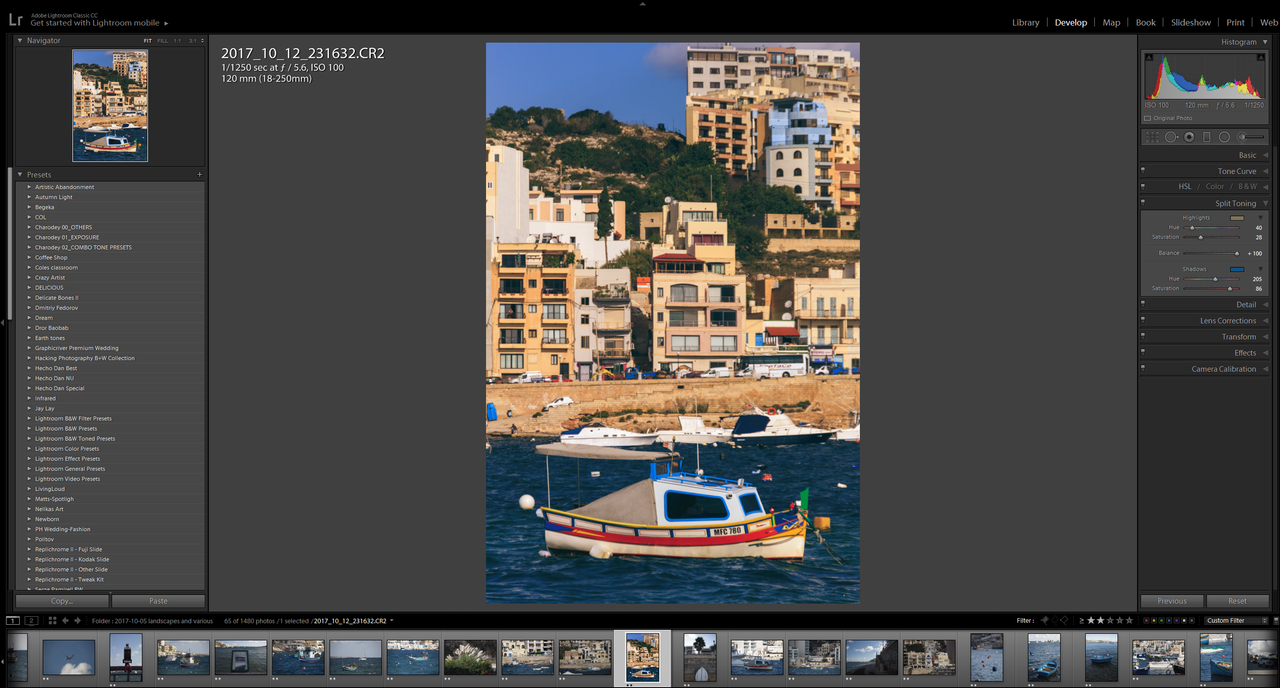
Step 7. Split toning. Very nice feature to get some special color effects. Normally I do put some blue into the shadows and some warm tones into highlight. This makes color contrast more interesting
Step 8. Details. Some final tweaks reducing overall noise. Noise reduction: luminance 29 / color 35 / smoothness 71
Again that's matter of taste. For those daylight shots done on ISO100 its really not necessary in fact. But for some darker sceneries it could help a lot. LR noise reduction works pretty cool
Step 9. HSL/Color. One more tool for heavy color correction. Basically reduced yellow saturation while rising orange a bit and adding blue one a bit too. And some luminance tweaks to get some colors of the image more bright
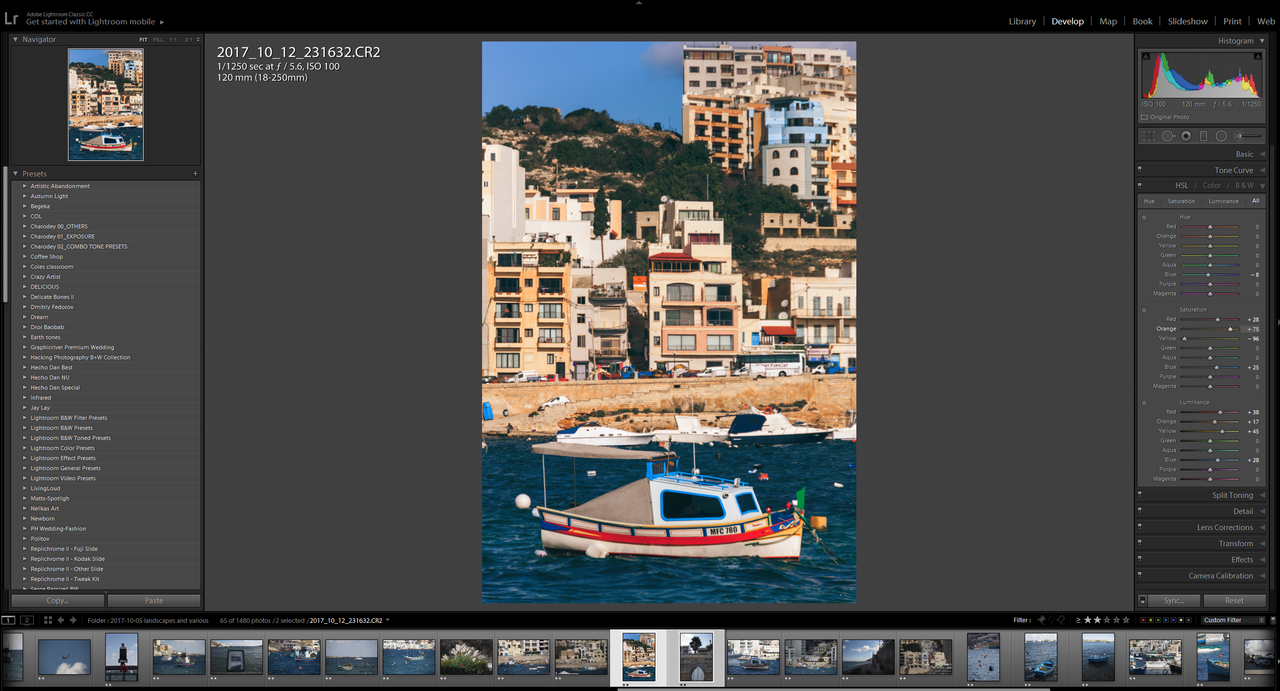
Step 10. Comparing final result. Well, actually only couple of minutes and you image definitely looks different. Lets hope in a better way! Now it is possible to save this preset or apply it at once to all images in the folder and voila. While as per practice still some of them will requite some minor tweaks still.

Well, that all for today and hope that was not too much boring :)
| Category | TRAVEL/LANDSCAPE |
| Camera | Canon 60D / Sigma 18-250mm |

From now on You can buy my works in hi-resolution digital format for ETH/USD
MAKERSPLACE
Solely curating PHOTOGRAPHY. To support You can
Follow the Trail either directly delegate with SP
Ready to Blog & Earn?
With TravelFeed, easily start your own travel blog and earn as you go. It's the smart platform for travelers who want to profit from their passion. Create a free account
Travel Resources for your trip to Malta
Recommended by TravelFeed
Flights: We recommend checking Kiwi.com to find the best and cheapest flights to Malta.
Accomodation: Explore the best places to stay in Malta on Booking.com, Agoda and Hostelworld.
Travel Insurance: Medical emergencies abroad can be pricey, but travel health insurance is not. We always use SafetyWing for affordable and reliable coverage.
Car Rental: For hassle-free car hiring, DiscoverCars is our trusted choice with a wide selection of vehicles.
Internet: Got an eSIM compatible phone? Airalo is perfect for reliable internet access during your trip. Just install it before you go, and you're set!
Day Trips & Tours: We recommend GetYourGuide for a variety of well-organized and enjoyable activities.
Travel Planner: Need a hand planning? Our free travel planner chatbot is your personal guide to Malta. Chat now.
Disclosure: Posts on TravelFeed may contain affiliate links. See affiliate disclosure.
