Prerequisites
Before you begin, you need to have your own blog set up with TravelFeed hosting.
Here's how to integrate it with TravelFeed:
1. Begin with Google Search Console
- Start by signing in to Google Search Console using your Google account.
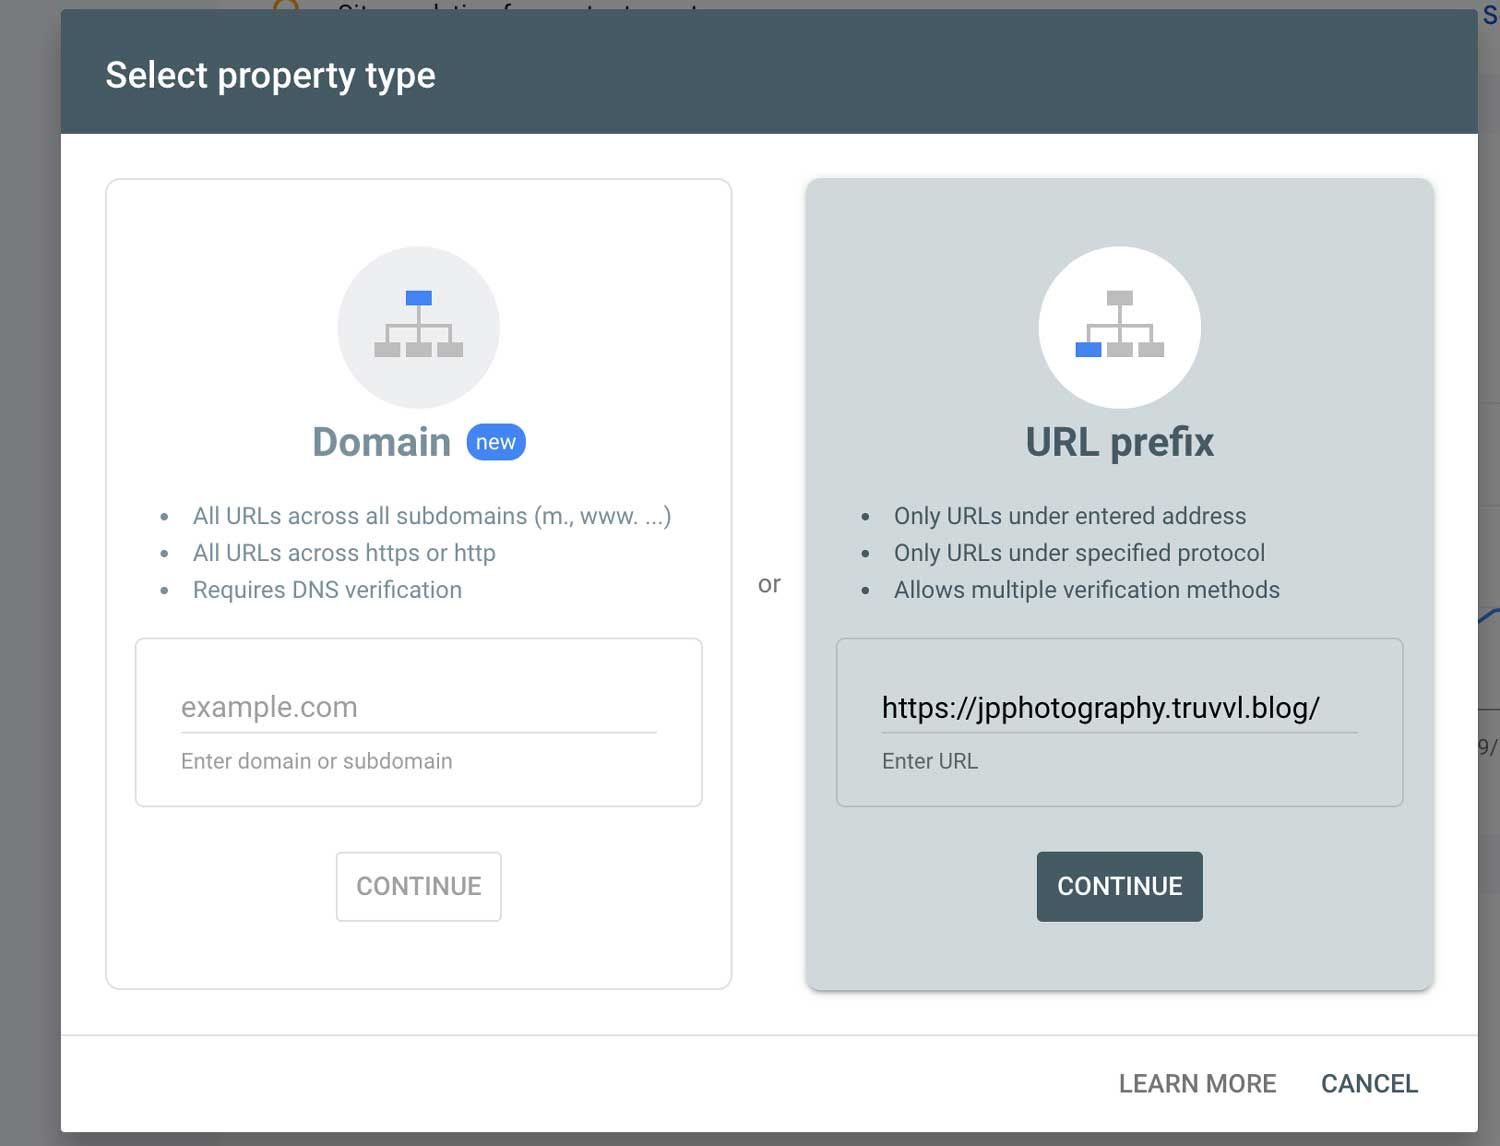
- Add a new property by entering your TravelFeed blog URL using the "URL prefix" option. Click "Continue" to proceed.
2. Get the HTML Tag
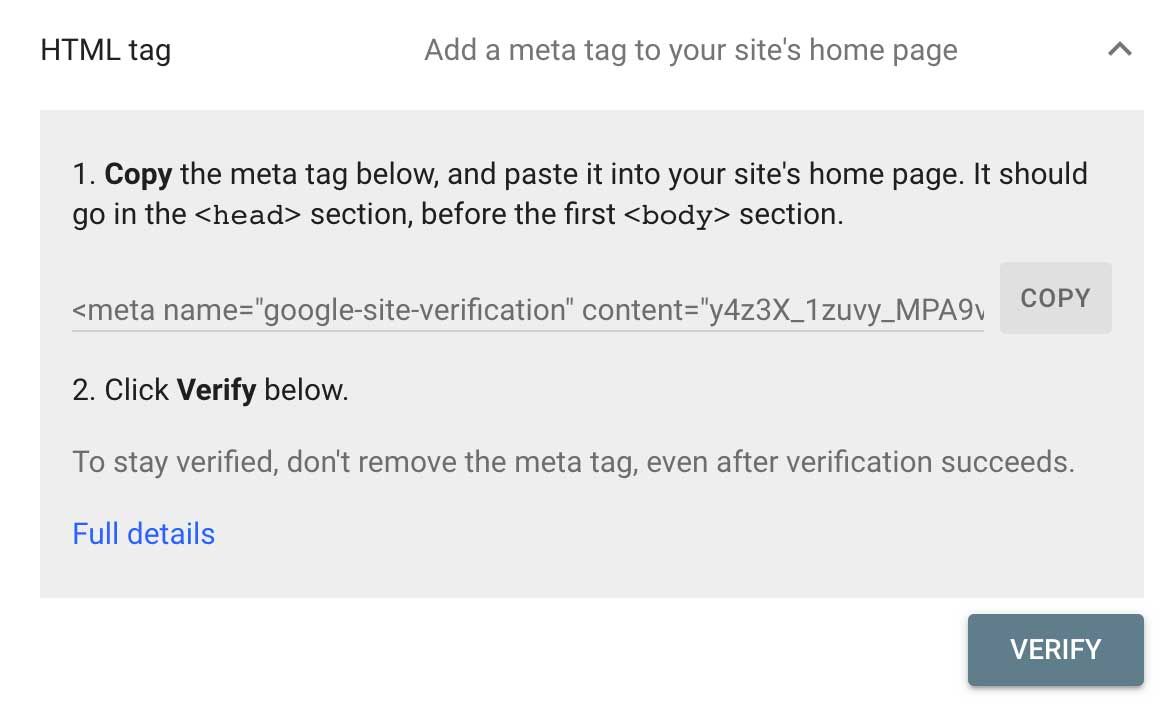
On the next screen, choose the "HTML tag" method. Click to copy the provided HTML tag.
3. Integrate with TravelFeed
- In your TravelFeed Dashboard, navigate to "Hosting" and then to the "Integrations" tab.
- Paste the copied HTML tag into the "Code injection" section.
- Scroll down and hit "Save changes".
- Wait for your blog to be updated. This should usually take 1-2 minutes.

4. Finalize the Verification
- Return to Google Search Console and click "Verify". This confirms the successful addition of the HTML tag.
Alternative Methods
While the above method is the most straightforward, there are other ways to integrate Google Search Console with your TravelFeed blog:
- DNS Record: If you're using a custom domain for your TravelFeed site, you can verify it by adding a specific DNS record.
- Google Tag Manager or Analytics: If you've already integrated Google Tag Manager or Google Analytics with your site, you can use them for verification in Google Search Console.
Voilà! Your TravelFeed site is now connected with Google Search Console. Dive in to explore valuable insights, monitor indexing status, and optimize your site's visibility in search results.